Lifestyle, Branding, Still Life & Ecommerce Photographer | Kate Benson
Frida baby vapor rub
As a leading product photographer, Kate Benson’s engagement with Frida marked a significant milestone: the launch of their first comparative product placement campaign for a eucalyptus-based vapor rub.
The initial phase of the product photoshoot focused on building a comprehensive image library, beginning with the required clean, white-background e-commerce shots.
The product photoshoot quickly evolved beyond standard captures to include extensive creative development for social and online platforms, successfully executing the targeted ‘Smear Campaign.’
Kate’s work as a dedicated product photographer supported Frida’s strategic goal to establish a strong visual presence for their innovative new product. Her freelance work with Frida brands as a client started 10 years ago in Miami when they created their first products and reached out to her to take their product photography.
Clean on brand e-commerce Product Photography
The initial phase centered on adhering to Frida Baby’s established e-commerce brand standard, characterized by a pure white background and subtle product reflection—a stylistic direction the brand later evolved from. Kate’s e-commerce product photography deliverables commenced with comprehensive, full-product captures, then strategically progressed to detailed macro-shots to highlight critical design elements, specifically the dispenser holes and the texture of the rub itself.
Elevated e-commerce photography
As a professional product photographer, Kate strategically advanced the initial e-commerce photography mandate. The subsequent product photoshoot phase introduced the deliberate use of Frida’s core brand color in the backdrops to enhance visual identity. She executed focused, elevated captures, utilizing a hand model to demonstrate the precise application and dispensing action of the product. A key deliverable was the creation of a ‘swipe image’—a textured visual asset—to clearly communicate the product’s tactile quality.
Creative still life in studio product photography
As the product photographer, Kate meticulously sourced botanical elements for evocative studio still life visuals. These narrative-driven images achieve greater resonance than conventional white-background photography. The still life style, a hallmark of the product photographer’s work, was often integrated into Frida’s branding shoots. This creative strategy successfully leveraged ingredient transparency into compelling visual content.
Lifestyle product photography
As a dedicated product lifestyle photographer, Kate constructed a bespoke set for environmental images. This allowed for seamless collaboration with the hand model on authentic, in-use captures. A client-requested changing table vignette was meticulously styled as a key scene. The shoot strategically incorporated other Frida Baby products to enhance the lifestyle context. This produced compelling product lifestyle photographs with an immersive, in-home experience.
The Smear Campaign
The targeted ‘Smear Campaign’ messaging was meticulously aligned with the product’s core value proposition. Visual assets were deliberately minimalist, incorporating significant negative space to optimize for downstream integration of compelling copy and call-to-action elements.
More final product photography use by Frida
The final imagery was leveraged across primary digital platforms. Assets were strategically deployed on their corporate e-commerce site and Amazon. High-volume wholesale partners, including Target and Walmart, utilized the photography. The visual content was integrated into comprehensive social media campaigns. The final image library facilitated expanded market reach and brand presence.
Sound like what you need?
Frida is one of many brands who chose to work with Kate for multi channel product photography needs. When a strong brand vision and consistency across the board is vital, using one well rounded photographer like Kate saves clients time and stress. That’s why so many folks end up relying on Kate month and month and year after year to handle whatever photography need comes up. Whether it’s product e-commerce photography, product lifestlye photography or studio still life product photography, Kate has you covered.
Work with Kate
Working together doesn’t feel anything like work. Friendships are forged, jokes are told, songs are sung and by the end of the day you’ve forgotten you were there to make the unforgettable images you now have.
More and more campaign shoots came in and it seemed the HUGE life changes of 2019 (like having another baby and moving to Dallas, TX) didn’t effect business. I think after I moved out of Miami to Charleston, SC I had to learn how to master the remote client photoshoot. We had already been doing it in Florida. But there are some products that it doesn’t work with and I was concerned how being a jewelry photographer would work out for me in Dallas and Fort Worth. Fine jewelry, high end pieces, really can’t often get shipped to my studio. So relocating and trying to maintain my life as a product and jewelry photographer was going to be challenging.
As fate would have it, one of my favorite jewelry clients didn’t miss a beat when I moved and quickly adjusted their plans to keep working with me.Diamonds Directis known for their engagement rings and making it super easy to buy exactly what you want. Pick out the setting, pick out your diamond, and viola, your custom jewelry is ready. But they have so much more than that! After I moved, they reached out and asked if I could come and shoot their one of a kind pieces. From previous conversations, I knew these were different pieces then I had photographed before. I knew these were unique and rare pieces. The art direction was simple, plain white backgrounds with some clipping paths so they can drop the files into artwork as needed. However, the project and jewelry was anything but.
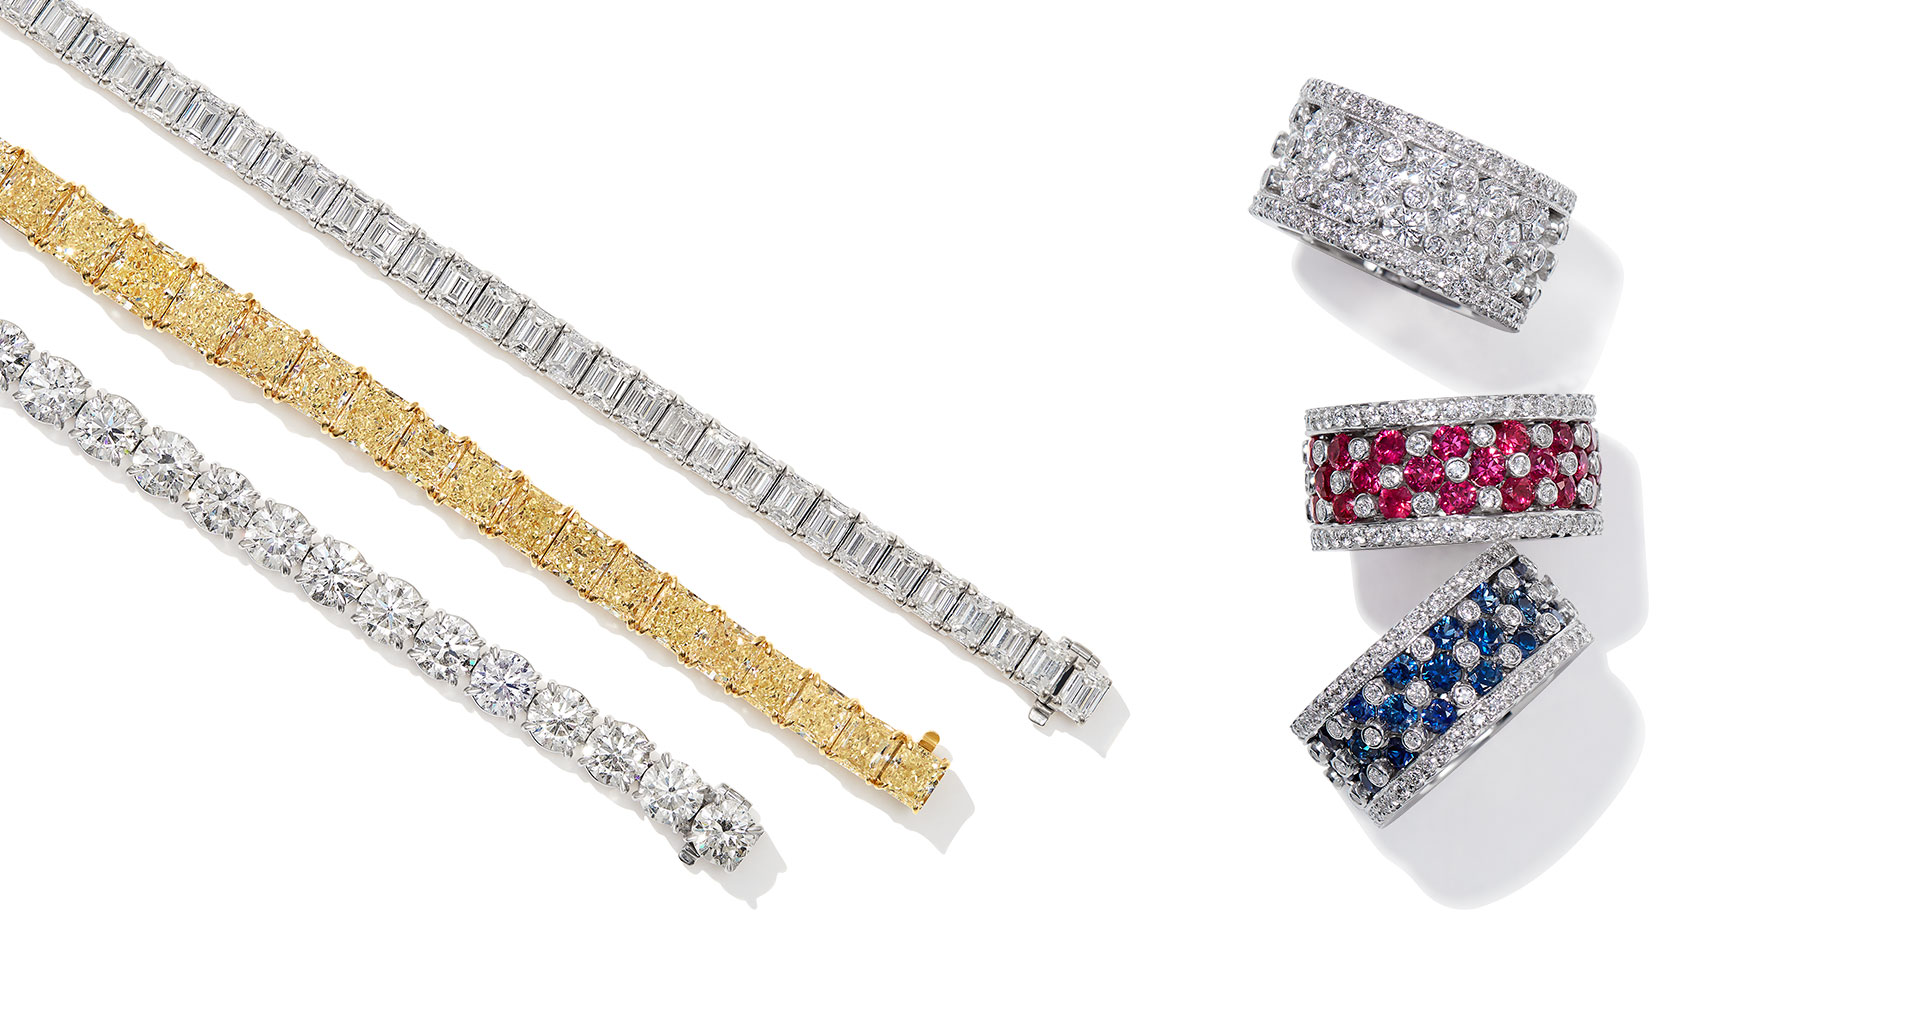
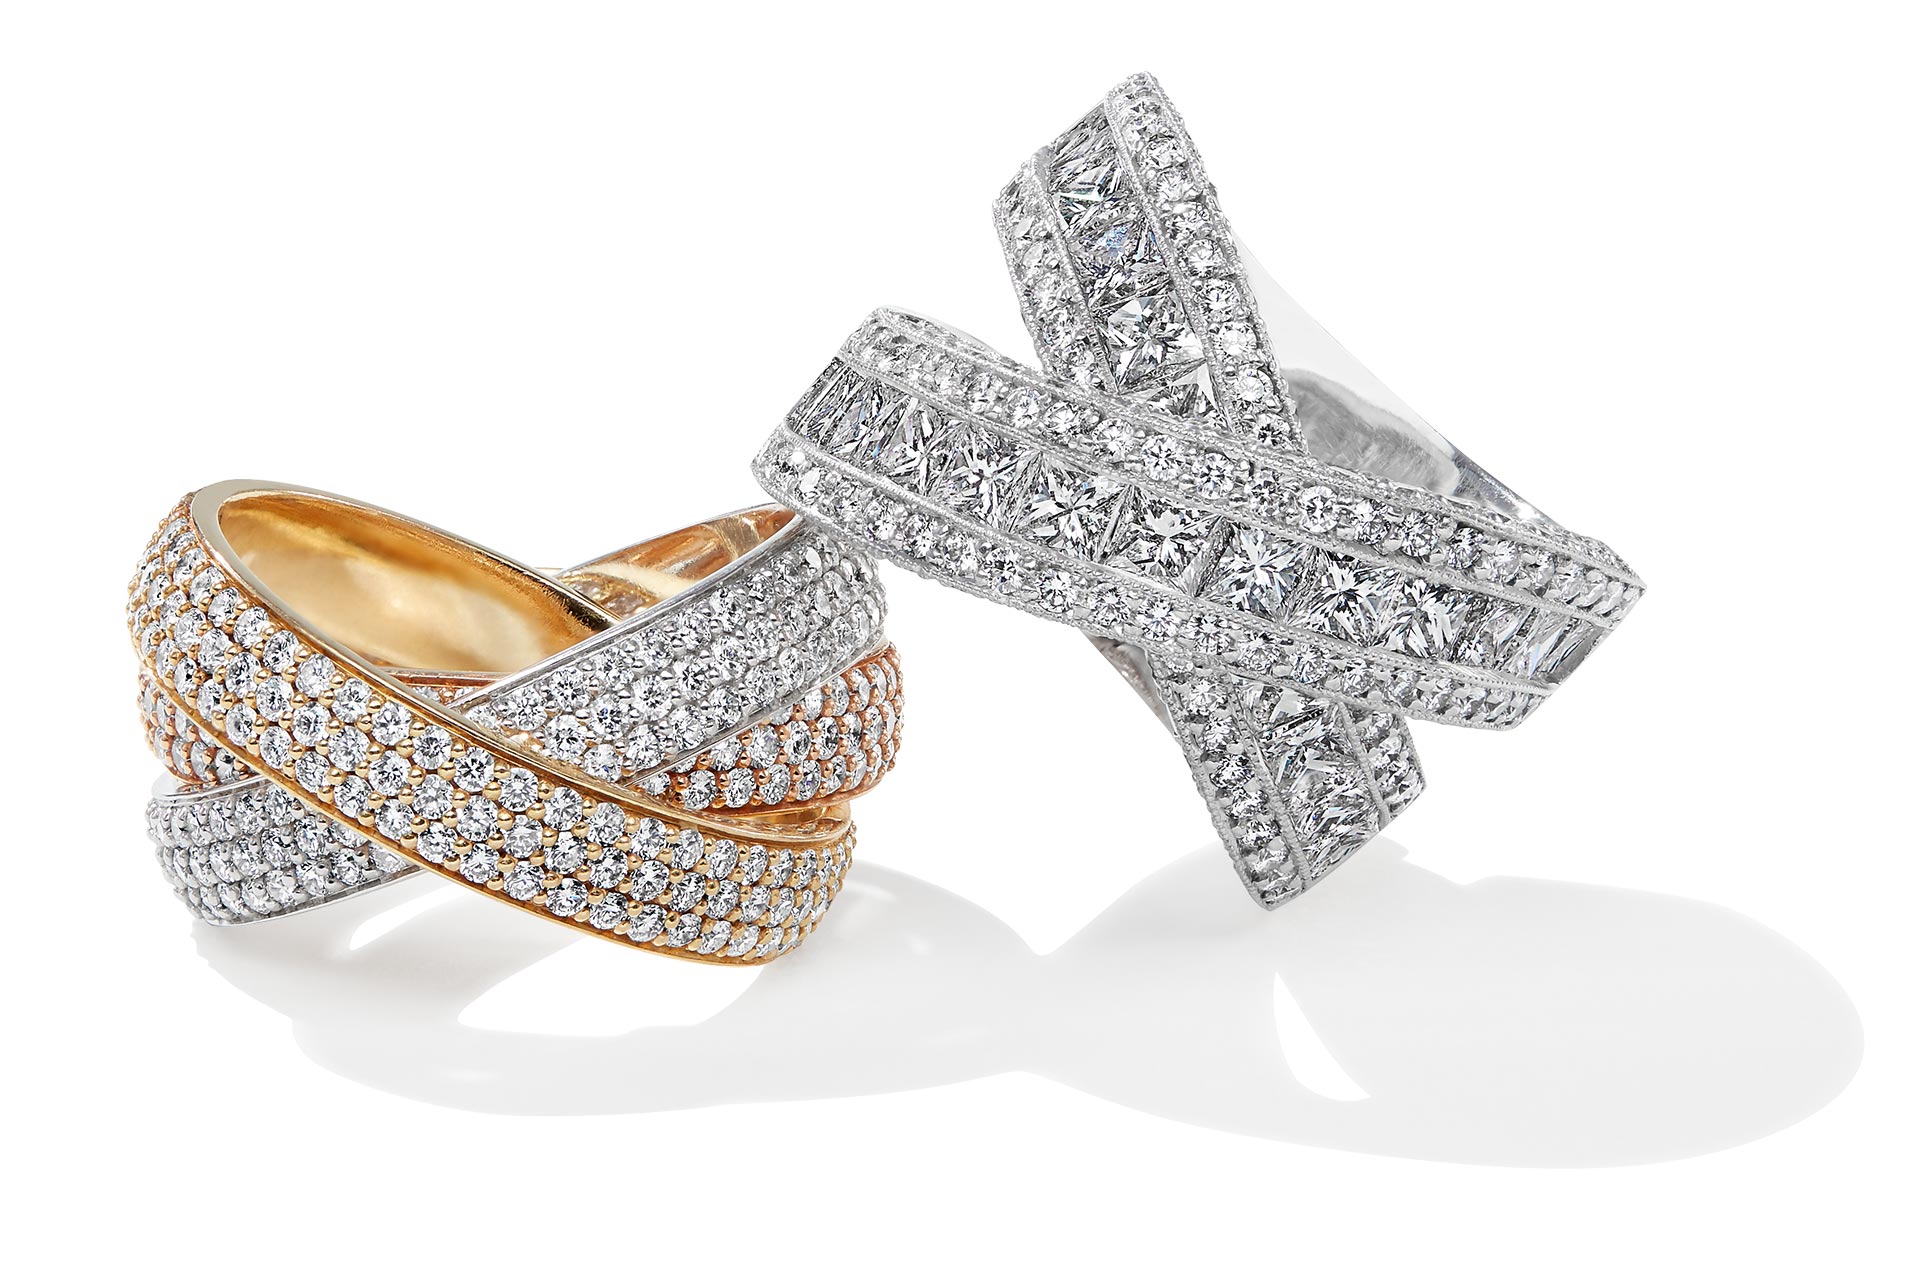
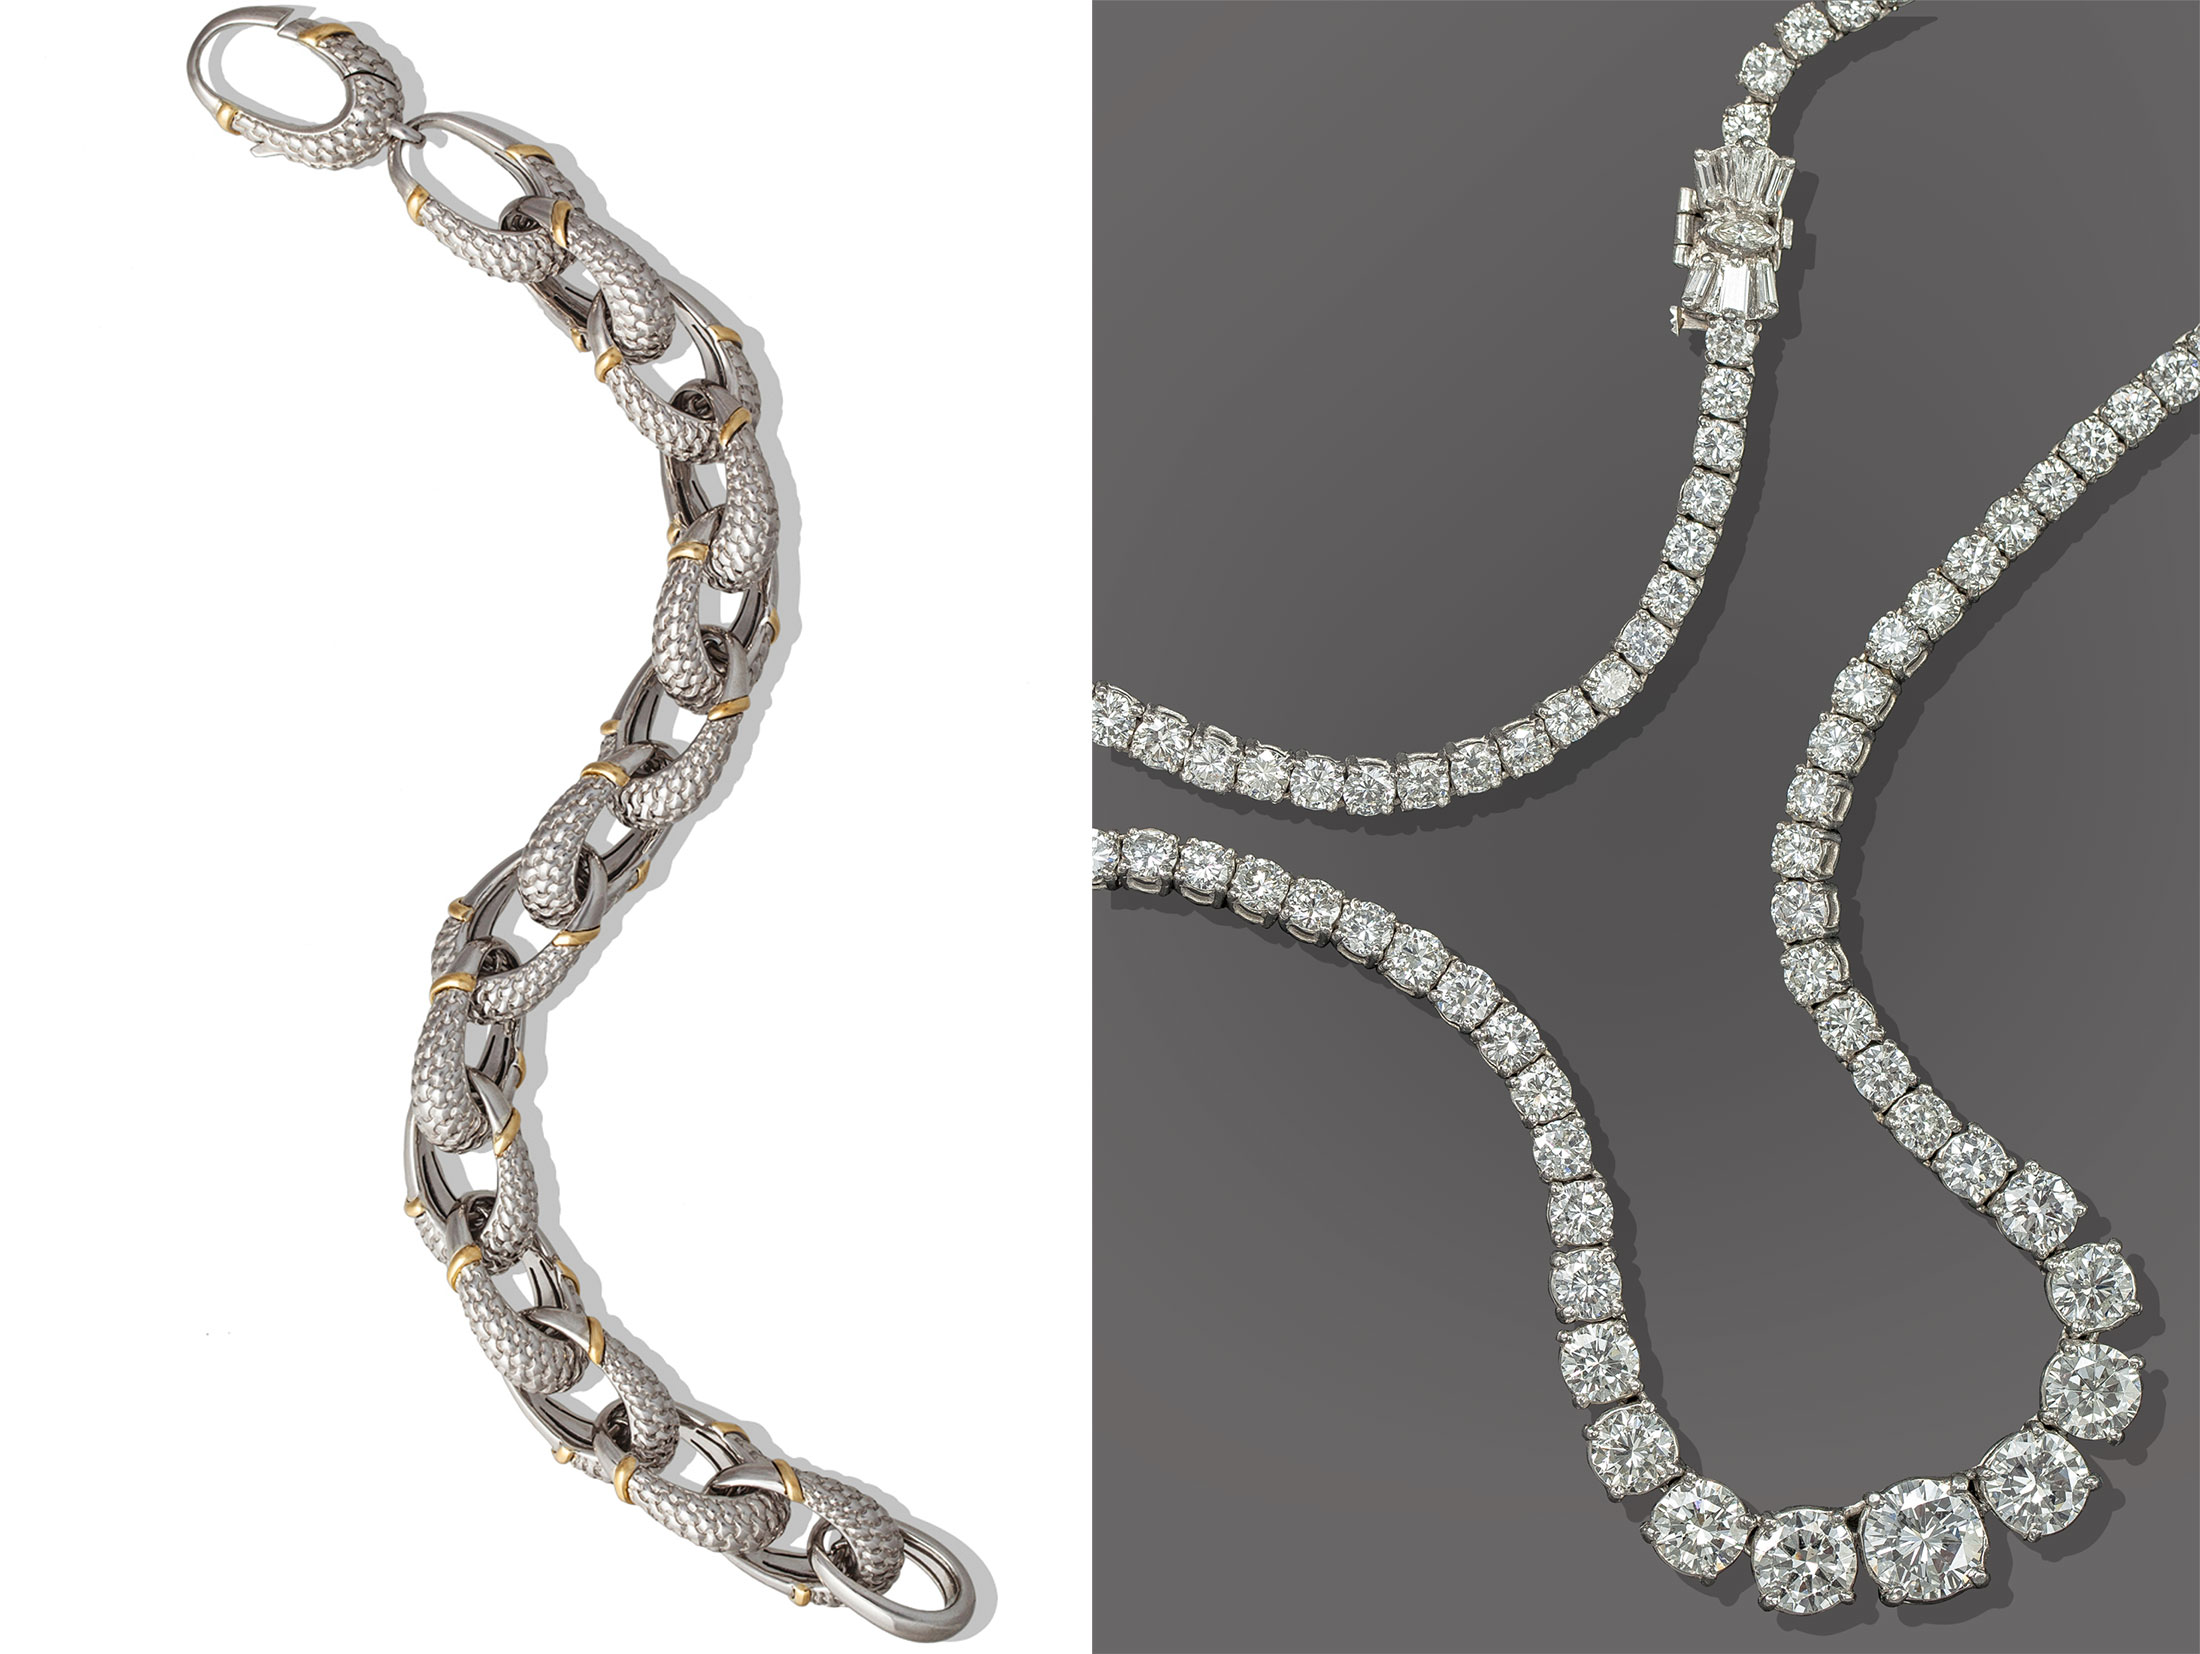
The jewelry photoshoot was over a couple days in an undisclosed location behind armed security guards. The collection isn’t usually all in one location so pieces were flown in from around the country for me to photograph. It was a huge responsibility to do justice as their jewelry photographer to these stunning necklaces, earrings, bracelets and rings. As is often the case with expensive jewelry like this, insurance regulated where the shoot would be. So I had to bring my studio to the location. Over the years, I’ve joked but the smaller the product is, the larger the studio setup we need! Every inch of the space they could give me to shoot was transformed with photography equipment. And in an organized furry we began capturing the collection.
Fast forward to a couple of weeks ago. I see I missed a deliver that required a signature. Usually I’m aware a package that requires a signature is coming so I was caught off guard by this. When I was able to catch the delivery and sign for it, the Collections book was waiting for me. Although my work is commonly used in print materials, it is rare for me to get to see it. A big thank you to the team over at Diamonds Direct for trusting me with the project and following through to the very end and sending one of their beautiful Collections books over to me. I love it!
I can only hope that this shoot was a preview into my new life as a Dallas jewelry photographer because if it is, many more great things are to come! Follow this link to see more of work from this (not so bashful but hopefully not too boastful) jewelry photographer.
You have just taken the first step in elevating your jewelry photography. Hopefully you will find some of these jewelry photography tips helpful.
They were written to speak to a wide audience so feel free to skip around if you like!
With your jewelry photography, you may be doing it yourself, or working with a photographer and not getting what you want. To get started, here is is a video of what a lot of jewelry photography looks like (although not how all professionals do it) and some of you may watch this video and say, “I would be happy with jewelry photography like that!” while others have had photography like that and are looking to elevate it.
Regardless of your situation, there are ways to help improve your images. You’ve put a lot of time and energy into designing your pieces, and you want your jewelry photographs to reflect that! Here are 8 tips from a professional jewelry photographer to help elevate your photos.
Tip 1: Have Your Pieces Professionally Polished and Cleaned
Before you bring your jewelry pieces to a photoshoot, make sure to get them professionally polished and cleaned. This will elevate your images because they will look almost new and flawless. When looking at a jewelry image, the camera is much closer to the piece than the naked eye would be. This means the image will show any scratches or flaws in the jewelry that otherwise would not be noticeable. Many of these blemishes a professional photographer can edit out in post production. However, keep in mind that your photograph cost is equal to how much time is spent on your products. If a photographer needs to spend a few hours retouching your images, then your per image rate will be more expensive than if you had your pieces cleaned and the photographer had few corrections to make.
Professional jewelers will be able to polish your jewelry and remove most scratches, too.
For example, when jewelry photographer Kate Benson worked with estate fine jewelry for Fine Art Auctions Miami, they would have their pieces professionally polished and cleaned before each shoot. These were mostly worn pieces from private collections. This helped to elevate their images as the product looked as good as it was going to before she photographed it. The images were requested to not be deeply retouched as the buyers needed to see the real state of the jewelry. So getting it well cleaned and polished was critical!
Tip 2: Don’t Wear Jewelry You Want Photographed Before a Photoshoot
Staying along the lines of getting your jewelry professionally polished and clean, is not to wear any jewelry you want photographed. It is tempting when you create a beautiful piece and have the chance to enjoy it yourself to put it on. However, wearing jewelry before the photoshoot exposes the pieces to risk that isn’t needed such as, scratching the pieces, fingerprints, dusts, etc. All of that will increase the likelihood of the pieces needing to be cleaned professionally or be subjected to more retouching.
If you are looking to clean your jewelry yourself, here is a video taking you step by step. Note: This process will not help to remove scratches.
Tip 3: Review and Carefully Select the Pieces You are Going to Shoot.
Manufacturing defects can happen. When picking out which pieces to photograph, check for everything. Some of the common issues that come through photography studios are:
Crooked jump rings
Loose stones that can fall out
Scratches or dents
Broken clasps
Inconsistent assembly of pieces (for example, logo tags changing the sides of the pieces they are on).
By taking a close look at your jewelry and confirming the pieces are in the best shape possible you will save on retouching time. If you are working with a photographer, send more than one piece of the same jewelry to the shoot, so the photographer can pick out the best looking one.
Tip 4: Plan Art Direction for Each Image You Need Before Your Shoot
Whether you are building a website from scratch or creating an ad campaign, plan out every shot you need before shooting and make sure your pieces work for that shot. This is more important if you are working with a photographer but having things mapped out keeps each angle of each style piece consistent to how you want it to be. When putting images on a website you don’t want the angles of jewelry to shift. You want the website to look consistent and seamless. Having these guides will keep you from shifting what the images look like.
If you are working with a photographer, letting the jewelry photographer know what you want is crucial to getting the photographs you need. Map out with images (either through testing with your photographer or collection inspiration on you own) what images you like. The photographer will want a guide of how you want each shot she/he is taking to look (roughly). From there, jewelry photographers can have a place to start and offer suggestions of alternative options for lighting, angles, etc. where they see something might work better. Most photographers expect to have a conversation about this before the shoot. During that conversation, consider that a jewelry photographer has seen a lot of product like yours before and has an idea already of why some pictures work better than others. Take long chain necklaces for example. How far do you zoom out for your image to show such a large piece? Too far will not show the details of the necklace. A jewelry photographer might suggest either including a zoom feature on your website so customers can see those details clearly, or to add detail shots as secondary images of your piece.
Keep an eye out for future blog posts on how to create moodboards and shot lists for art direction.
Tip 5: Keep it Consistent
Regardless of if you are shooting yourself or a professional jewelry photographer is, use a tripod and make sure the jewelry isn’t shifting/moving around when it is photographed. For example, hanging necklaces might sway for a while, so either place something behind them or wait until they stop moving before shooting. Regardless of if you are using natural light or not, make notes about what the light values were. If you have studio lights, write down their values, positions, and modifiers. If you are shooting in natural light, record the time of day, the weather, etc. Light will change color when it is cloudy or sunny. You want to be able if you are shooting yourself to go back and recreate the setup you have next time you have new pieces to shoot.
If you have a professional jewelry photographer, confirm that he/she is taking steps to recreate your setup when you have more product ready to send. Product photographer Kate Benson had this to say on this topic, “Consistency is one of the reasons I don’t often select to shoot product in natural light. It can be a beautiful atheistic but after spending a decade working in South Florida where the weather changes constantly chasing the light values, temperatures, and adjusting modifiers to correct for clouds/sun slowed down work and created too many variables and hence, inconsistencies. I prefer to create natural light in studio now when clients want that look.” She explained that each client has their setups and lighting recorded through pictures and charts so whenever they send product again it will look like it was shot at the exact same time once it is on the website.
Tip 6: Matte vs. Shine
Jewelry is a finicky product to shoot. It acts like a mirror, reflecting everything. So what is reflecting in the metal is as important as what isn’t reflecting. Obviously you don’t want to see the yourself/the photographer and camera or objects from around a room in your jewelry but you may need to see something reflecting in the metal to make sure it looks right. If you have a matte finish on your jewelry you can get away with a lot more but when the jewelry has a shiny reflective finish then not seeing the right thing will look matte. Knowing how to put the right reflections into metal could make or break your sales + returns. If customers think they are buying a matte finish piece and get something shiny they could be very unhappy. So being accurate is very important. Pay close attention to what the jewelry looks like in your setup. You may need to add some reflections to make it look right!
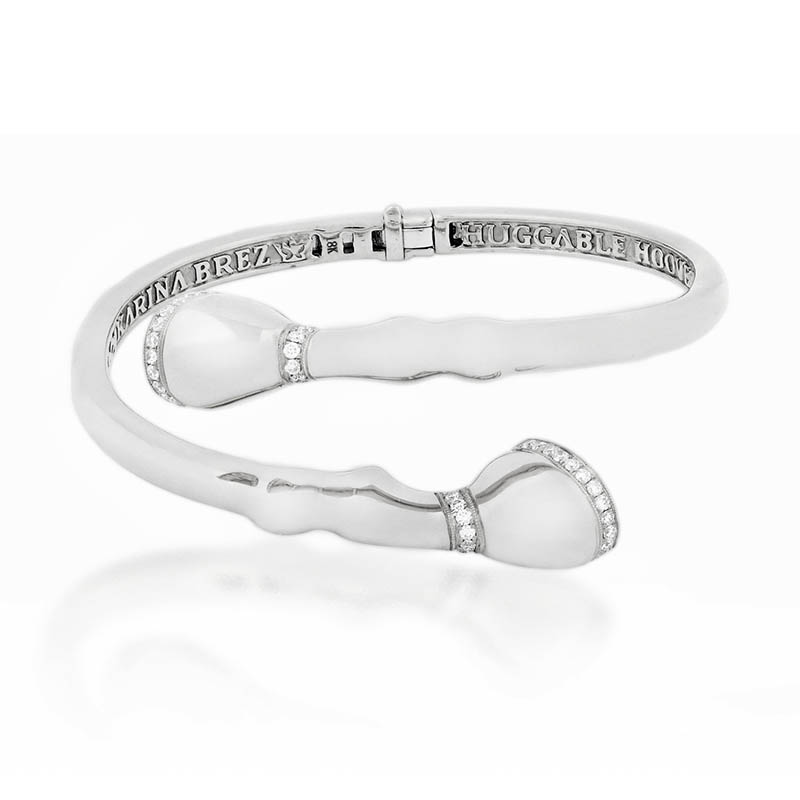
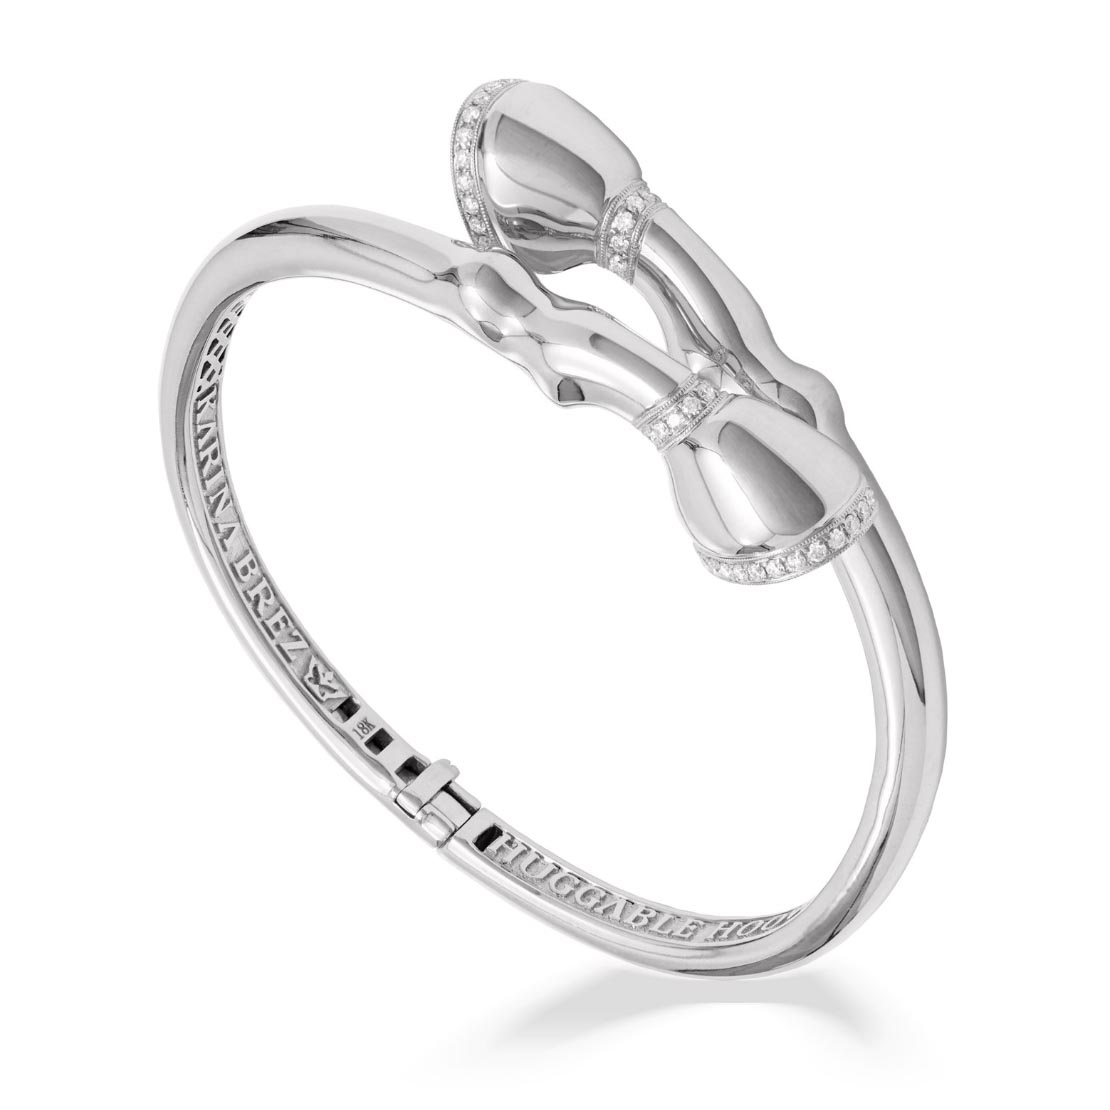
Let’s revisit the first video about taking photographs using a light tent. A light tent is a great way to minimize any reflections. Your jewelry will be surrounded by plain white fabric on all sides, with the exception of a camera hole. The only reflection you’ll have is from your camera. It sounds counterintuitive, but the problem with a light tent is that you have no reflections. This gives jewelry a matte look, instead of the shine that looks great and gives pieces shape. Jewelry photographer Kate Benson has been shooting jewelry for over a decade, and she uses a variety of papers, scrims, modifiers, and lights (and almost never a light tent) to make the setup completely adjustable for each piece as necessary. “I have better control over the reflections in each jewelry piece this way. If I’m shooting rings that are different sizes, I can make small tweaks in the lighting setup to make each piece look its best. If I just put one on after the other, and didn’t make any adjustments, the reflections could look wrong.” Here’s an example of a piece of jewelry shot in a light box versus a controlled studio setup.
Bracelet shot using a light box by anonymous photographer
Bracelet shot in studio with a custom lighting setup by Kate Benson
Tip 7: Test it Out
There is a rumor that Vogue Magazine makes 5 different covers for every issue and then sends those covers out to a group of design talented beta viewers who will vote for the cover they like best. Regardless if that is true or not, that concept is a great way to elevate your jewelry photography. Whether you plan on using the photographs on your website, in mailers, or for banners and billboards, creating a few different mockup versions and seeing which ones look the best is sure to improve your photography usage. If you have a single piece, try seeing if your jewelry photographer offers a test shoot option where you can hire her/him to explore a few different photographic options to see what works the best.
Tip 8: When in Doubt, Hire a Professional Jewelry Photographer
This is probably the fastest way to improve your jewelry photography. Keep in mind, hiring a professional photographer is not the same thing as a professional jewelry photographer. True jewelry photographers will pay close attention to what your jewelry is, what it needs to look like, and will make sure it all translates beautifully in the photography. You can estimate the per shot rate from a professional jewelry photographer in the range of $30 – $80+, which is extremely dependent on what type of jewelry you have, and how many pieces. If you have a ring that you sell with different colored stones on it, it might be possible to recolor the stones, and you might be looking toward the $30 range. If you have fine jewelry that needs a specific lighting setup per piece, you are looking at the higher end of the spectrum. Jewelry photographer Kate Benson recently did a shoot for a client with a high volume of images needed for the brands website and Amazon and was able to get the photography for under $20 a shot with testing because the volume was so high.
Many professional jewelry photographers will not give you this per image rate, but instead quote you based on an hourly or day rate. This way, they have the time they need to get your pieces to look stunning. A lot of work goes into a jewelry photo, including initial prep (like extra polishing), styling (especially difficult with chains), test shooting (if you needed it ), shooting (and lighting adjustments as needed), then retouching. If you receive a per shot rate, confirm that you know the final photography you are getting includes all the elements you need. Make sure every part of the shoot is spelled out before they do the work for you. The last think you want is to hire someone to do a shoot for you and then realize you needed background cleanup, more retouching, clipping paths, custom file sizes, etc. If you hire an hourly rate photographer you can always go back and ask for these things and they can invoice for them after but if you have a per shot rate this might not be included. Over communicating to the photographer is better than under communicating! It takes time but is worth it to avoid any issues later!
In conclusion
There are many factors that can increase your chances of getting the best jewelry photography for your brand. Be confident in what you decide to do and remember that if you try one way and it doesn’t work, you can try something else. Leave any questions you have in the comments and Kate Benson will get back to you ASAP!
If you can tap into the large customer pool Amazon has, your business could become hugely successful. Because there are so many sellers, though, the competition is high. A key role in setting yourself apart from the rest and attracting customers is your Amazon listing product photography. Many e-commerce shoppers are influenced by product photos. When shopping online, customers cannot physically see or touch your products, so your images speak volumes. One thing I love about Amazon is how fast clients can see a return on investment with their product photography. But that can be daunting to figure out how to do successfully and it comes with a lot of questions. This article hopefully will clear up those questions by talking about how much does Amazon photography cost, what the workflow of working with a professional Amazon photographer is like, and what the benefits of that are.
One thing I love about Amazon is how fast clients can see a return on investment with their product photography.
Amazon has strict guidelines for photography. Different products have different requirements that Amazon spells out in their style guides (scroll down to Resources for some of these). A product photographer will be able to go through the guides and make sure your images meet all the requirements. The last thing you want is to invest time and money into getting your product photography on Amazon and have the website reject your images because they don’t meet the strict requirements.
What is it like to work with a product photographer for my Amazon listing?
Different professional product photographers have different workflows, so I can only really speak to how I work. My goal is to make sure the files delivered match the art direction and are on brand while still meeting Amazon’s guidelines. The photography process varies from client to client, because companies of all sizes sell on Amazon and so the needs and team change accordingly. So whether it’s the photographer, the client or a team doing it, bellow are some of the steps that happen.
Art Direction/Mood Boards: I’ve worked with clients who have professional art directors who send me documents of each shot of the product and the corresponding image examples of what I need to match or exceed. However, I also work with clients who have no idea what art direction is and I help them form that document. The art direction has to be within Amazon’s image requirements which means we don’t have as much flexibility with the primary product shot in terms of background, but the styling, lighting, and propping are all flexible and the art direction tells me the client wants. Another term for art direction is mood board so whatever you call it, it the same thing. By being creative you can draw attention to your product in a sea of similar products. Shooting a glass bottle empty for example wouldn’t draw much attention by itself on a page full of similar empty glass bottles, but filled with bright fruit, herbs or liquid the image stands out from the rest. That is how art direction can help.
Shoot Day: The product usually is shipped to me in my South Carolina studio space where I work remotely with clients all the time. When the client can’t be on set for the shoot day, I make sure the client has access to a computer or phone and when I think I have the shot, I send a preview image for the client to review and approve. That way, clients are still able to participate in the photoshoot and adjust the art direction as their products are shot if they want to. It gives clients confidence that they aren’t purchasing images that won’t work. I don’t want clients to feel like they have to blindly trust me so I offer to make the shoots as interactive as possible regardless of where the companies are based out of.
File Delivery: This can vary. Just because we are shooting for Amazon doesn’t mean every client is going to only use the images I take on Amazon so often clients expect a larger file than Amazon would like so they can have in on hand for other purposes. My default is to give a larger file to the clients and let them make it smaller for Amazon but when a client tells me they want it just Amazon size or two versions (large and small for Amazon) I give it to them that way. Clients can get the files the same day I shoot or up to a week after. It depends on how many shots we are taking and how much retouching is needed. For example, if I’m shooting 100+ items, odds are that most of the day is going to be dedicated to the photographing of the products. But if I’m shooting 1 product I’ll usually have time that same day to do any retouching that is needed and send it over right away.
When I work remotely with clients, they ship their products to my South Carolina studio and include a return label. I can then easily send the products back to them once the shoot is complete.
How much does Amazon photography cost?
Amazon photography cost = Photographer and team time + Expenses
In the field of photography, your rate is equal to how much time it will take to shoot your product, plus any other expenses (like props, a stylist, or models). The most basic Amazon photo (one object on a pure white background) will cost significantly less than an image with people in an environment with your product because we have to make sure that everything in that space looks right (the people, the space, the props in that space, etc). So Amazon photography cost is very dependent on the art direction.
Amazon photography cost less than $200 to over $600 depending on how you want it to look. The low end of that Amazon photography cost estimate is the product on a white background by itself (e-commerce image) and the higher end of Amazon photography cost includes props, people, locations, etc. Remember to look at your competition and think about how big do you want your business to go? If you want to be the #1 seller of your product, you need to see what the current #1 seller’s photos look like, check out their descriptions, read their reviews, and then do even better on your listing! By hiring a professional product photographer for Amazon, you can get your images to a competitively high standard while following Amazon’s requirements.
Amazon photography could cost less than $200 to over $600
If you have the budget, you should consider getting images with your product in an environment or on model if applicable. These lifestyle shots are more sensory, and can help your customers better understand how to use your product, and what it looks/feels like. Lifestyle images often need to budget for props and talent (I will always use whatever I have on hand to keep costs down if it works for the shoot though). In the example below, I used fresh fruits and veggies for styled images as well as a model using the product on location. We also did some plain white background shots of just the product. This shoot was over $600 because it involved so many components. However, the product shot up to the #1 spot after the Amazon listing was updated.
You can also add lifestyle images to the product description. These photos could help break up larger sections of text, and can enhance your listing through even more additional views and details. Having these types of secondary pictures in the product description is another way to stand apart in the competitive market on Amazon.
How can I minimize my Amazon photography cost when I have a small budget?
It might sound counterintuitive, but the best way to minimize your Amazon photography cost is to tell your product photographer what you’re looking for and what your budget is. For reference, I don’t just take a picture, I care about the why and the what behind each shoot. I want my clients to get images to help their businesses grow, and if I succeed, they’ll come back needing more. If I know your budget ahead of time, I can consult with you to see how we can achieve the images you’re looking for based on that limit.
When the budgets are really tight, it can be worth it to start small and work your way up. Getting a few images that look amazing on your listing will help more than a bunch of images that are just okay. Unflattering pictures of your product can hurt your sales by turning a customer away so I recommend taking the less is more approach in those cases.
Lower the Amazon photography cost by telling your product photographer what you’re looking for and what your budget is.
A large part of the Amazon photography cost is the studio lighting setup and breakdown, as that is a time consuming process. I try and help everyone who reaches out to me. When someone reaches out and the budget is really tight, but they can wait a bit for the images I’ll wait and shoot the project until the next time I have an Amazon client. This move splits the setup and breakdown costs between two clients and saves them both money.
Primary product images must be on a pure white background
Images should be between 1,000 and 10,000 pixels on the longest side
Preferred image file format is .JPEG
Products should occupy 85% of the frame on limiting dimension of longest side
Images must not be blurry, pixelated, or have jagged edges
Final Thoughts
Selling on Amazon is a great way to increase your e-commerce revenues. Working with so many different brands and clients for over a decade on Amazon photography has given me a chance to learn about what works and what doesn’t. Clients that hired me attended Amazon selling seminars, beta test their images, etc. and have talked to me about what works, what didn’t, and why. This has put me in a unique position to know a lot about how to optimize images for the best return on investment through Amazon. I hope some of this article has been helpful for you whatever size company you have!
If you need an Amazon photographer and would like more information, or a free quote on your project, feel free to contact me through Kate Benson Photography.
If you look at my website, you may not see much that shouts “TRADITIONAL LIFESTYLE PHOTOGRAPHER” on it. I don’t shoot lifestyle the way many photographers do. When I get the opportunity to work with clients in this genre, I like to play and create situations that the models can be characters/actors in and then approach my shooting from a documentary style. The camera should feel like a friend or be invisible in the context of the pictures. The luxury bathrobe company Boca Terry connected with me through a branding agency a while back and asked for me to help photograph a rebranding for them. I was invited to sit in for more than a couple meetings and really learn what BT loved and didn’t love about their photography in the past. Getting this time with the client meant that when we arrived at the beautiful 1 Hotel South Beach for the shoot, capturing Jason and Fernanda went really smoothly. I loved working with BT. The company has great leadership and team so it never felt like work and the days flew by. I was hired to be a model + lifestyle photographer and still life/product photographer so across the board their images could have a consistent feel. Being able to shoot both on model and still life really served me well as the photographer on this project as I really love both types of shooting and don’t treat one as a requirement for getting the job. In this case, the resort focused product photographer roll was just as important as the lifestyle photographer one. Here are some of my favorites from this shoot:
In addition to the needed image, I always try and give my clients some surprises. Jason practicing his martial arts was the team favorite of these from the shoot. 1 Hotel was just opened at the time we did the shoot and we found an outdoor space that was mostly being used for storage. My assistants helped me moved the planters against this blank wall and cleared out a space for Jason to do his magic. When we get a chance to be really creative and the team is good and relaxed, the most unexpected and engaging photography happens.
Looking for a lifestyle photography quote? Send a message our way!