Miami Product Photographer | Raw Image Files – Better Known as “Digital Negatives”

The term “raw file” is often mistaken or misunderstood. Nowadays, with everyone taking photos on their phone and sharing them with the world, the idea of a digital photo seems relatively straightforward and easy to comprehend. But that is not really the case. If you don’t fully understand the difference between a raw file, a processed file and a retouched file, don’t worry, you are not alone! This is a common issue that I hope to clarify here.
It is essential to distinguish between these three terms (raw files, processed files, and retouched files) in order to get exactly what you need and can use from a photo shoot. Sometimes clients will ask me for the raw files from the shoot when they actually meant to ask for the processed files (they want files that have not yet been retouched, but that are in a format that they can use).

So let’s start with the basics. First of all, it is important to know what a raw file is. Believe it or not, raw is not necessarily what you think it is. Many people think that “raw”simply means that it hasn’t been re-touched or edited using Photoshop or a similar program. This is not the case. To clarify, a raw file means “camera raw.” But what does this mean exactly?

Consider this: years ago when you wanted to shoot photos, you had a roll of Kodak film, for example. You placed the roll of film in your camera and began shooting. After you shot all 24 or 36 photos on the roll, you would typically take the roll of film to a photo center to have it processed. The roll itself was no good to you until it was processed. What you got back from the photo center was the developed film (as negatives or slides) and prints (if you opted to print them). In terms of the digital world of photography, think of the raw files as the undeveloped roll of film that has been shot, the processed files as the developed film and the retouched files as the prints that you would get.

Part of the reason we shoot tethered (with the camera attached to the computer by a cable in order to send the files directly to the computer) is so that we can show the client a preview of a processed file that doesn’t actually exist in reality yet. It hasn’t been processed at this point, but it can be viewed as if it were. Shooting tethered is a great way to give the client a general idea of what the photo is going to look like when it is processed. If I were shooting to a CD or memory card, you would not be seeing the hypothetical version of the image. You would be seeing the raw version which is hard to understand unless you know how to read them.

So, after the raw images are shot, they need to be processed. Clients hire me because they like my work and part of that work is file processing. It is the part of post-production that occurs after the shoot, where I make sure that when I give you the files, they look exactly like they are supposed to. In the past, when using film, photographers would shoot photos with the idea in mind of how we were going to process it. Pushing or pulling the film during the development process was a way to adjust what we shot in order to create the best image possible. Now, with digital images, this is done in the “digital darkroom” or in the processing phase of post-production. Some of the things that can be done during processing are (from: http://en.wikipedia.org/wiki/Raw_image_format):

  • decoding – image data of raw files are typically encoded for compression purpose, but also often for
    obfuscation purpose
  • defective pixel removal – replacing data in known bad locations with interpolations from nearby locations
  • white balancing – accounting for color temperature of the light that was used to take the photograph
  • demosaicing – interpolating the partial raw data received from the color-filtered image sensor into a matrix of colored pixels.
  • noise reduction – trading off detail for smoothness by removing small fluctuations
  • color translation – converting from the camera native color space defined by the spectral sensitivities of the image sensor to an output color space (typically sRGB for JPEG)
  • tone reproduction – the scene luminance captured by the camera sensors and stored in the raw file needs to be rendered for pleasing effect and correct viewing on low-dynamic-range monitors or prints
  • compression – for example JPEG compression
  • removal of systematic noise – bias frame subtraction and flat-field correction
  • dark frame subtraction
  • optical correction – lens distortion correction, vignetting correction, and color fringing correction
  • contrast enhancement
  • increasing visual acuity by unsharp masking
  • dynamic range compression – lighten shadow regions without blowing out highlight regions

And after the images are processed, they are typically retouched.  Retouching is a digital way to make your photo look even better. Sometimes, in order to produce the best shot, you have to shoot multiple images and put these images together into one photo. This would occur in the retouching phase of the post production work. Jewelry photography is an excellent example of this.

So, as you can see, just as in the days of “old school” film, digital photography involves multiple steps that all lead up to the final, usable image. And hopefully this clears up the difference between a raw file, a processed file and a retouched file.

If you are still a little confused, here is another photographer’s explanation

Click here for more info on Miami Product Photographer Kate Benson

Switch 2 Social Recap | A Seminar on Social Media and Blogging

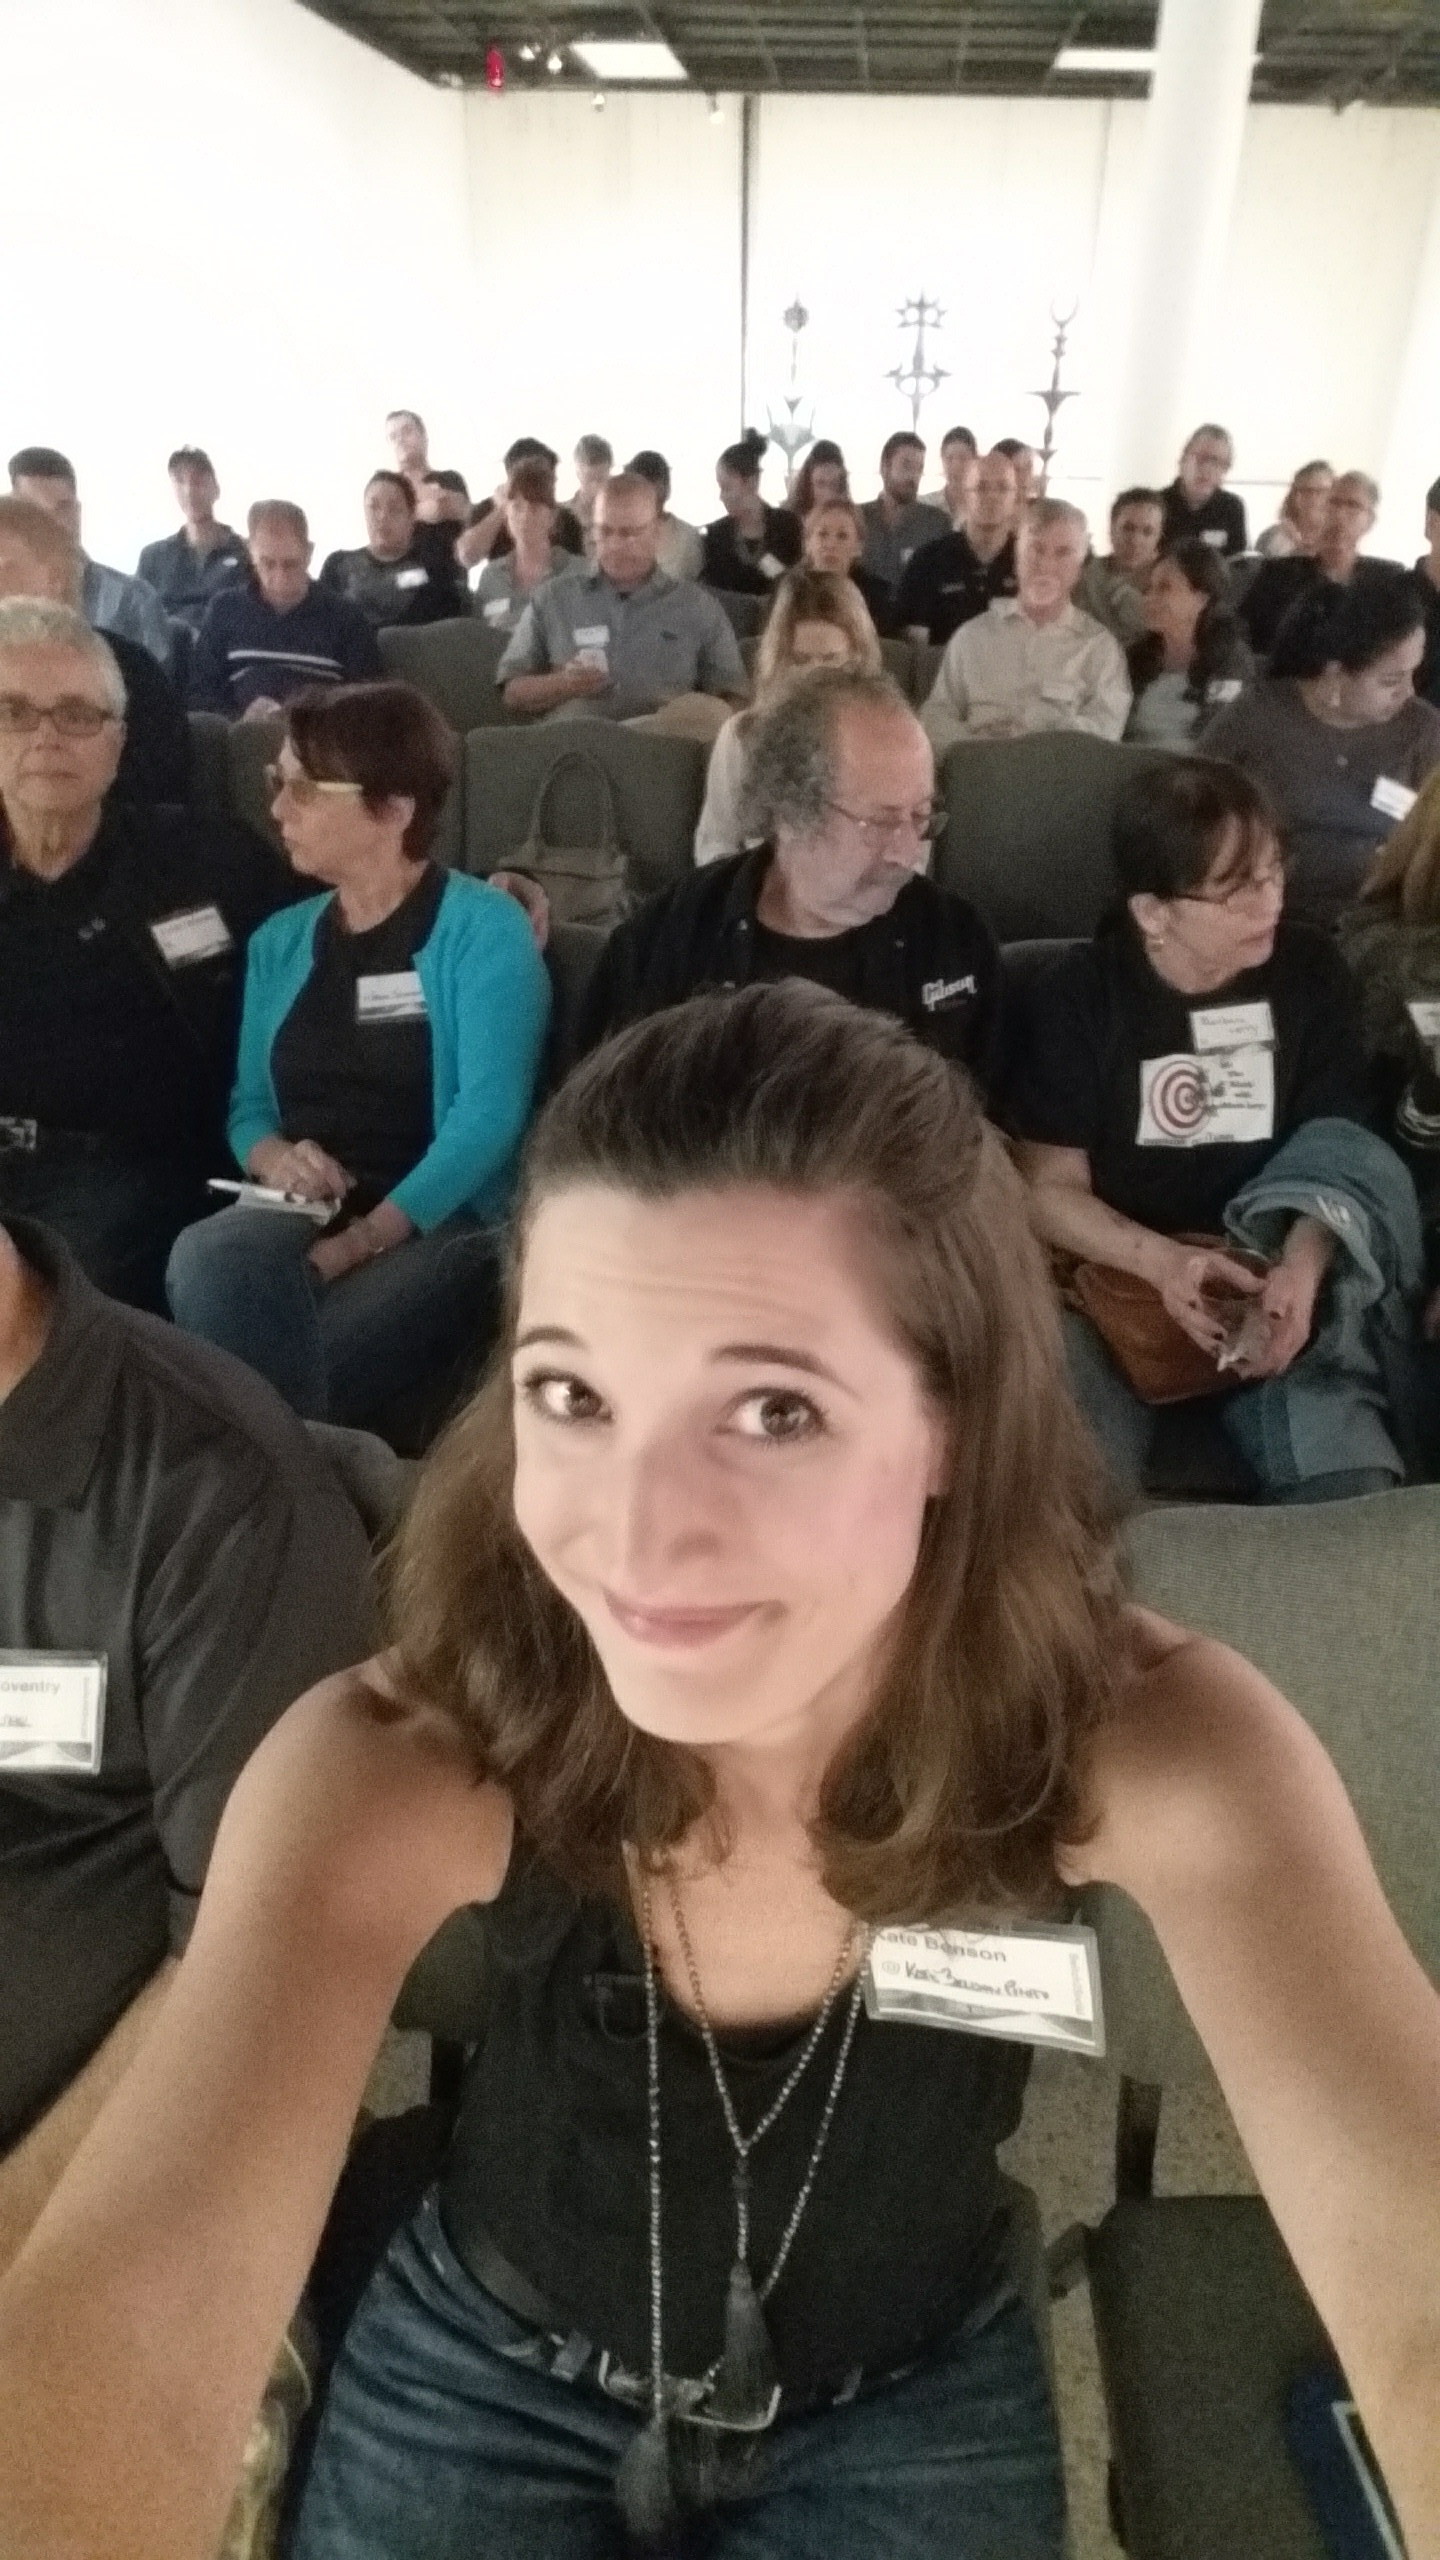
Last Thursday I spoke at an ASMP event titled, “Social Media Secrets Revealed,” about how blogging has helped my business grow. For those of you who attended, thank you. For those of you who couldn’t make it or were too far away, you missed a great show! Rosh Sillars was the keynote speaker and had some great tips. Pascal Depuhl, Jorge ParraScott Coventry and I were additional speakers who shared our own personal success stories. My story was about how blogging has really helped my business. It is often overlooked by artists because we think our work speaks for itself. But in a world where clients want to know who they are hiring, the blog is your new resume and portfolio.


When I talk to people about blogging, there is often a lot of fear surrounding the idea of it. Some common fears are related to insecurity, weak writing skills, lack of information, and the list goes on. Insecurity stems from the misconception that someone else out there probably knows the topic better. Many people are anxious that writing isn’t their strong point and so are afraid of not sounding eloquent. Some have a false belief that they should first gather more information and then blog when they really have something of epic proportions to say. Whatever your reason, just toss it out. My first blogs were terrible (and some still are). I mean really, really awful. And the pictures that I took back then, well, I wouldn’t be putting any of them on my website today. But it was material. It was content. It was a starting point. Writing anything is almost always better than nothing. Nothing will get you nothing. Often, the idea of writing for the entire online community is daunting. Sometimes it helps to imagine that you have no audience, that you are just writing for yourself.

So, where do you begin? What would you like to tell someone about yourself or your work if you were writing in a journal and could say anything, for example? Write that. Add some visuals if you have them; if not, oh well. Post what you wrote. In the beginning your audience probably will be close to zero. I have been posting so infrequently that I’m pretty sure the size of my blog’s audience is back down. But, even if it isn’t, I prefer to imagine that it is because if no one is reading my blog and I’m just writing to give Google some fresh content to crawl, the pressure is off! I have yet to lose a client because of a blog post (knock on wood it doesn’t happen in the future). So, I have nothing to lose and everything to gain, which is the same for you!

So your homework this week (for those of you who already have some sort of blog platform up): Write a post. Even if it is a post about never getting around to posting (I think I have at least 10 posts like that). But write something! Break the ice!! You have to start somewhere!

If you don’t have a blog yet, you have a bigger assignment: Figure out what platform you want to use to blog (research WordPress, Blogger, etc), learn how to install it and get to it. Or get a buddy who is computer savvy to do it for you. If you have no computer savvy friends, hire someone to do it. Just figure it out and do it!! Worst case scenario, you don’t install it correctly and have to try again. Practice makes perfect and eventually you will get it!

E-commerce Photographer Miami | How to Produce a Professional Photo shoot, aka “What the heck do I do now?”

Everyone has to start somewhere. Chances are good that if you are reading this blog, you are wondering what the heck do I need to do to produce a photo shoot? It’s OK! No one will tell! In fact you can message me with any questions you might have. My goal is to help my clients or anyone who finds themselves needing to produce a photo shoot. Ready? Here goes!
When planning a shoot, there are a multitude of things to consider in order to make your shoot successful. As the saying goes, “The devil is in the details.” Here are ways to plan out those details to make for a successful shoot. While this is a list of important items to keep in mind, the descriptions are purposely broad with some specific examples given; your distinct needs for your shoot will require you to refine, add and/or subtract items as necessary.

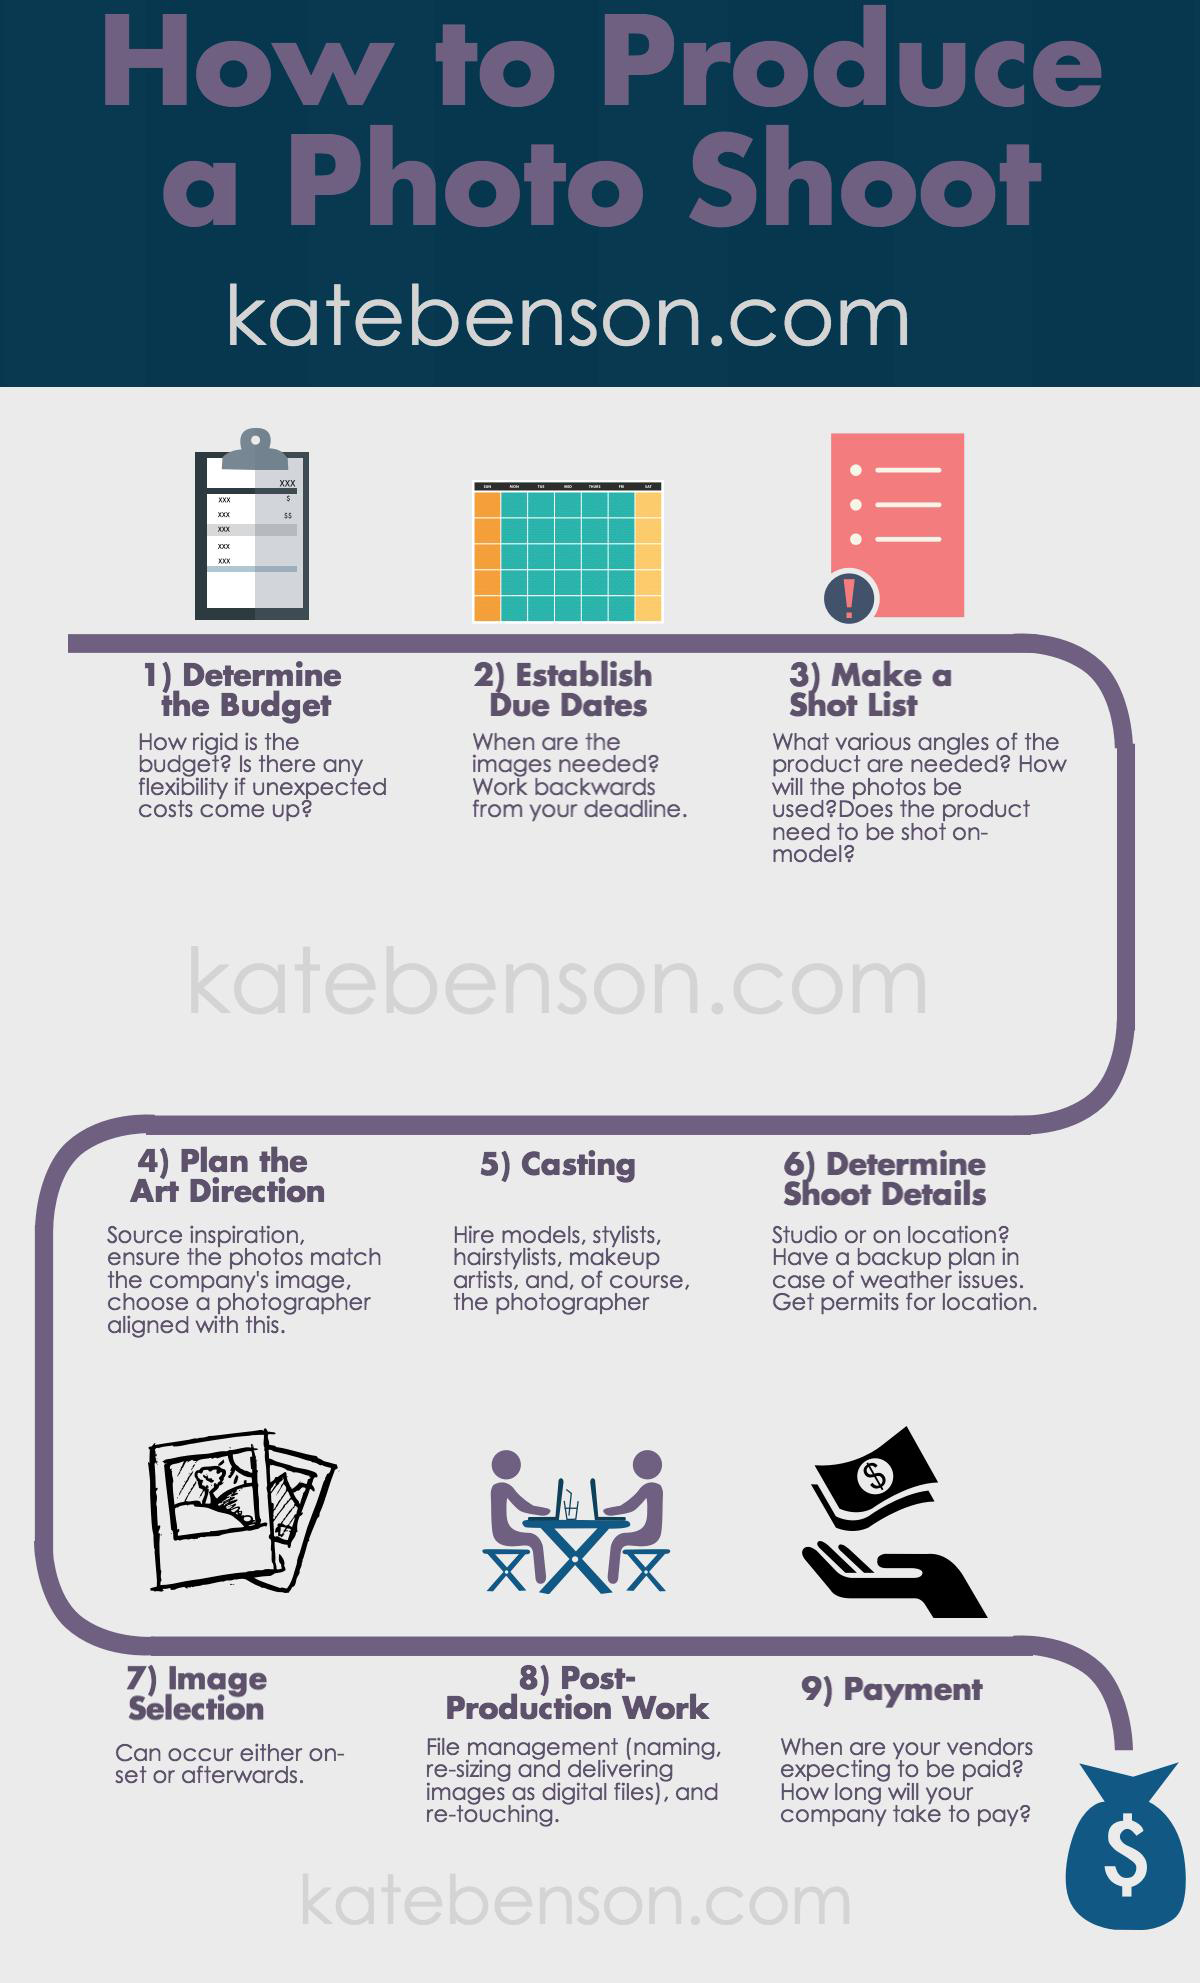
Some of the very first things to take into account are your budget, due dates, the shot list, and usage. Identify the budget for the shoot, and determine how rigid it is. This will help shape the decisions you make regarding the entire production. How much flexibility do you have if unexpected costs come up? Due dates are crucial to keep in mind. When are the images needed? Understanding your time frame will allow you to work backwards in creating a schedule. A shot list is also imperative. Brainstorm what photos you will need. Does your product need to be shot on-model and/or still life? Do you need various angles of each item? How many total images do you need of your product(s)? And don’t forget to keep in mind the usage. How will your photos be used? For advertising? Internally? On the web?

The next thing to plan is the art direction. This is something that can be done in-house or outsourced, but is a significant aspect of your production. Art direction involves sourcing inspiration for your photos (I suggest collecting visual examples for this), making sure the photos line up with your company’s image, and ensuring that the photos convey the mood and environment that you want your product(s) to have. And, of course, this all dictates the type of photographer that you will use. You wouldn’t choose a nature photographer for an action shot of a model, for example. Which leads us to the casting…

Your next step involves casting and determining the details of the actual shoot. Your casting may include hiring models, stylists, hairstylists, makeup artists, and, of course, the photographer (to name a few). You may also need to hire a professional retoucher for post-production. Some photographers can do their own retouching, but it is important to determine whether they can do it well. You then need to ascertain whether you will be using a studio or a location for the shoot. If you plan to shoot on location, you will need to obtain permits or permission to use the site, and you should have a back-up plan in case of weather issues. You also need to consider your set. What inanimate objects will you need to complete the shot? What wardrobe or accessories might you need for the models? Is a manicure necessary due to close-up shots of a model’s hands?

Within the location details (whether on location or in studio) it is essential to plan food and beverages for everyone at the shoot and possibly transportation to and from the site. You may even need to provide lodging for the clients, models and/or the crew, depending on the location.

Image selection is an important part of the process. This can occur either on set or after the shoot. If the photographer shoots tethered to a computer, you can see the images immediately as they are shot. This gives you the opportunity to select your images while on set, and it also allows you to confirm that you have everything you need before the shoot is done.

After the shoot has taken place, there is still work to be done. The post-production work includes file management (naming, re-sizing, and delivering the images as digital files), as well as any retouching that may be required. When budgeting for your shoot, it is important to determine whether these costs are built into the photographer’s fee or will be charged additionally.

After taking all of this into account, the big question is can this all fit into your budget? If the answer is no, it is time to re-evaluate some aspects of your plan. Can you get a higher budget? Can you be more specific in your usage? Can you reduce your shot list? What can be done in-house?

And lastly, don’t forget about payment. When are people expecting to be paid? How long will it take your company to pay?

So, here is a quick checklist to help you plan your shoot:

budget
due dates
shot list
usage
art direction
casting
shoot details
location details
image selection
post-production work
payment

Just remember, this is a list of important items to keep in mind, but the descriptions are broad. You will need to tweak the list depending on your own needs for your shoot.

Here is a handy flowchart for your reference:


E-Commerce Photographer| Intro and Banner Shots

I recently shot marketing and lifestyle images for Frank Morgan’s American Swimwear, a startup company based in New York, whose brand focuses on the young, twenty-something crowd. As you can guess, a company’s website needs more than its e-commerce shots to sell the product. Having lifestyle photos which project the image that the company is targeting can really enhance the website. A strong intro shot draws customers to the site, where the e-commerce shots will then provide the necessary product information.

For our shoot, we first shot the e-commerce images in the studio, and then ventured out to the beach to shoot the lifestyle images. It was a typical gorgeous day on the beach in Miami: blue skies, turquoise water, white sand. Clearly we had a lot of beauty to work with, including the designer’s sister who flew down from New York to be our model.

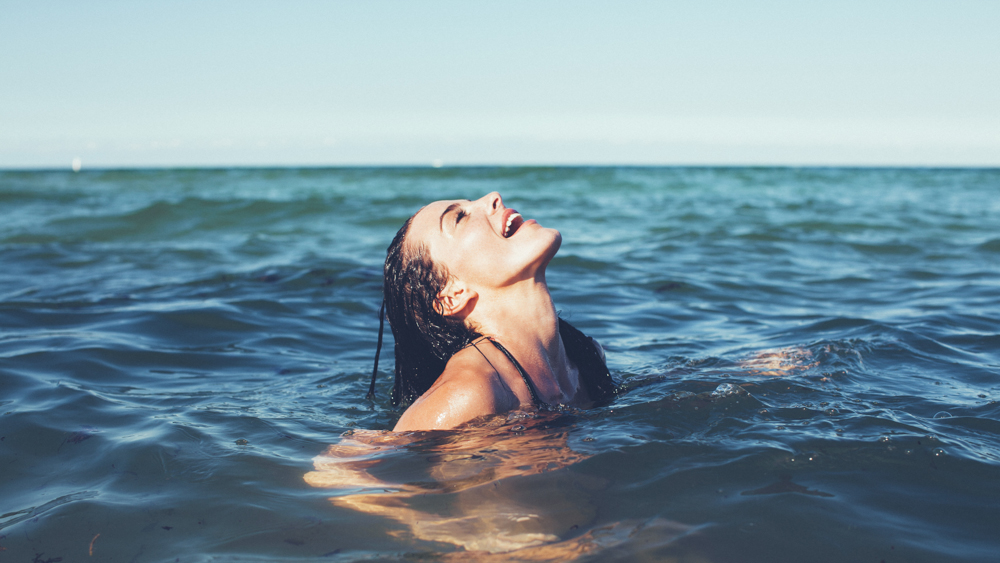
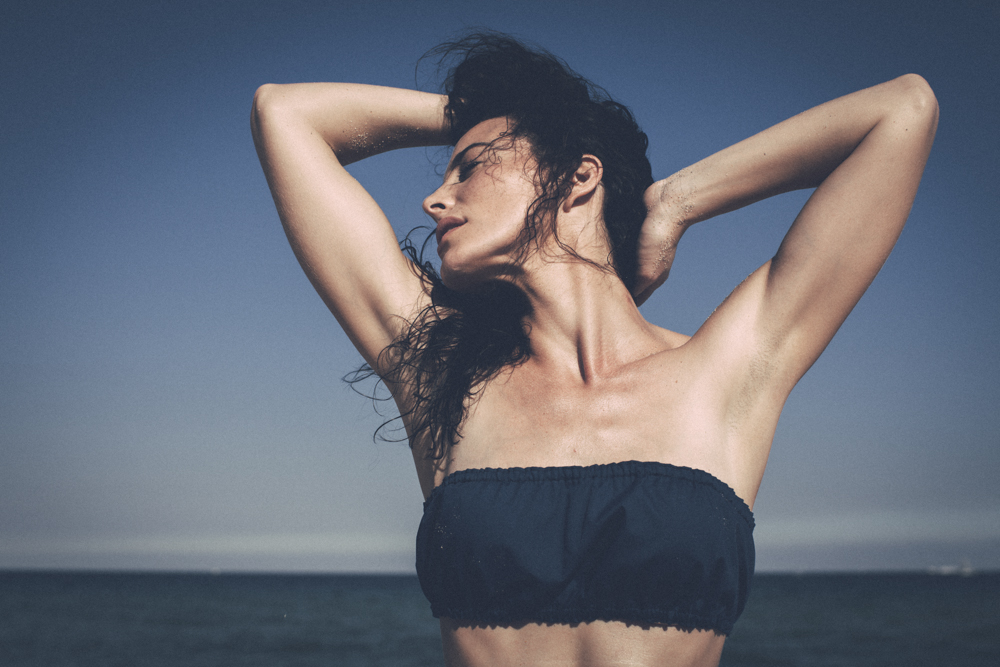
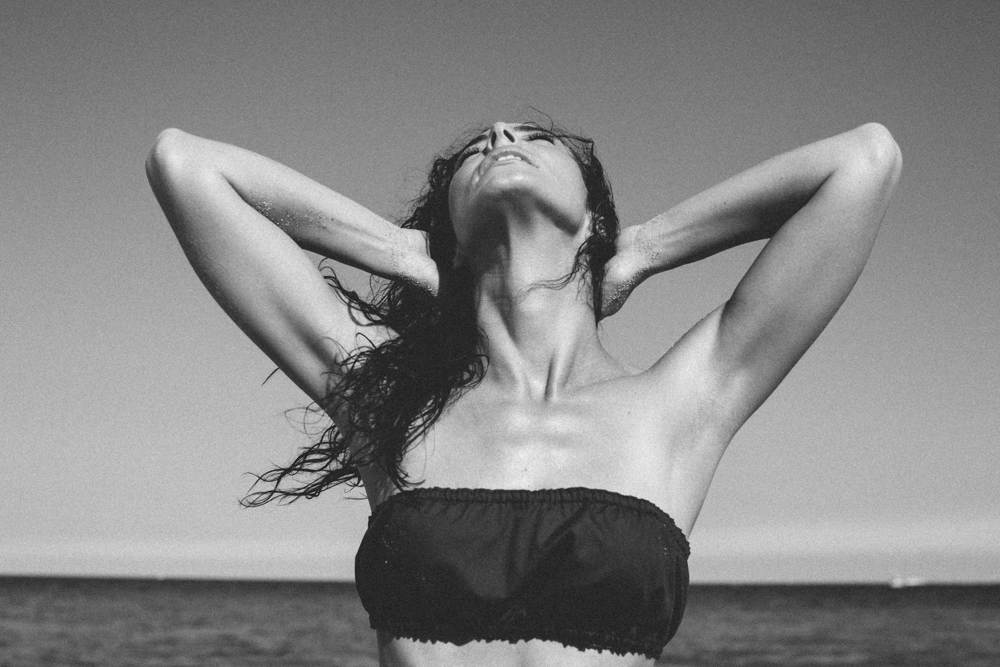
The images we shot outside were to be used for banners and intro on the company’s website, so they needed to have ample room for cropping, placement of text, the company’s logo, etc. Here are four of my favorite photos from the shoot.


The following photos were shot to be used as intro photos on the company’s webpage. With the brand’s focus on a youthful crowd, these images are intended to be young, playful, and flirtatious.

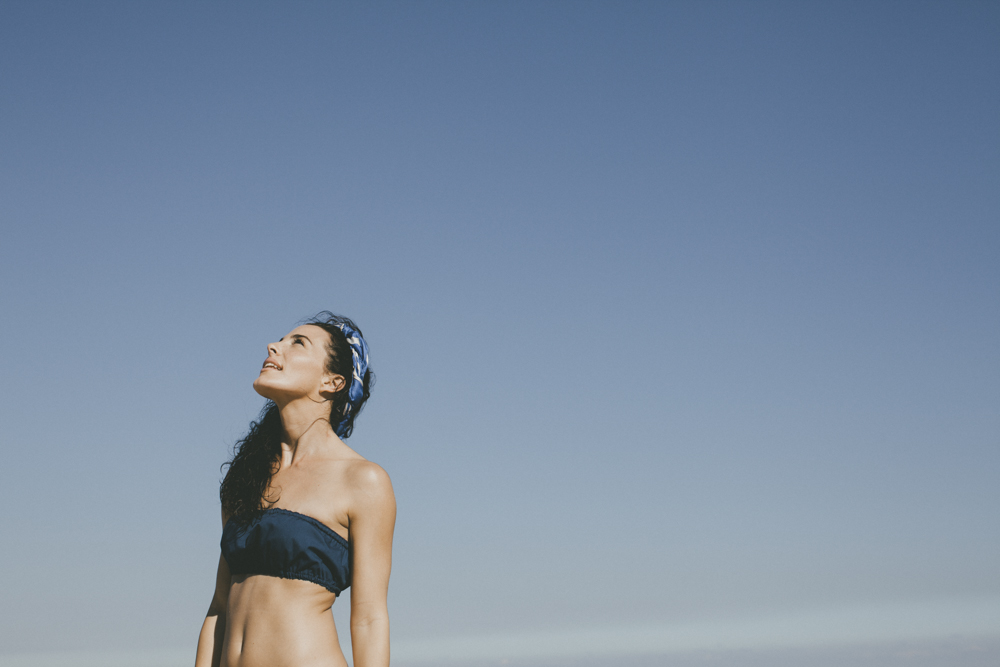
This photo was shot with the purpose of being used for a banner on the company’s website. It allows room for cropping into a narrow, horizontal image without eliminating any of the crucial components of the photo.

Here are two examples of how photos can be used as intro shots on a website. Space was purposely left on one side of the photo to have a generous amount of room for the necessary text.

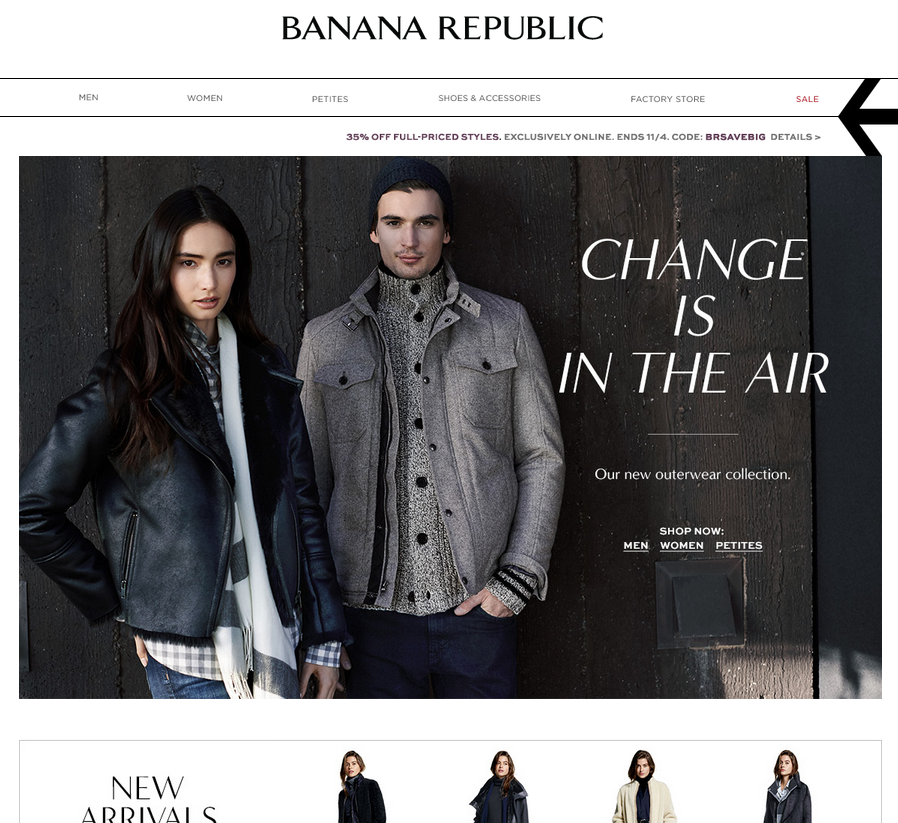
Here are two examples of how photos can be used as banners on a website.

E-commerce Photographer South Florida | The Picture Sells the Product

Sometimes it’s hard to justify the cost of e-commerce photography, especially when the product will be photographed on a model. Instead of just paying for the photography, the client will need a whole team to produce photography that will sell products. That means (in some cases): photographer, model, hair & makeup (not always one person for both), stylist, assistants, location, catering (if the shoot is going to be a full day), etc., etc., etc. It’s hard to imagine getting all that on the budget that most startups have. So, how can you make the photo shoot worth it? Considering that a startup has a smaller budget, the goal would be to shoot less product perfectly, rather than shooting all of your product in a mediocre fashion. Think quality, not quantity. It certainly isn’t worth wasting the budget on sub-par shots. In the world of e-commerce photography, if you can’t do it right, don’t do it.

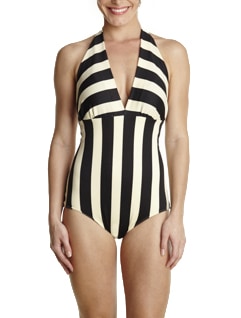
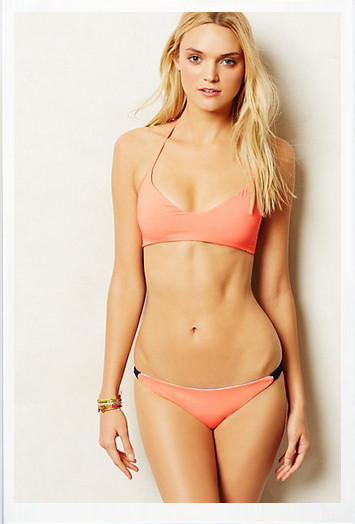
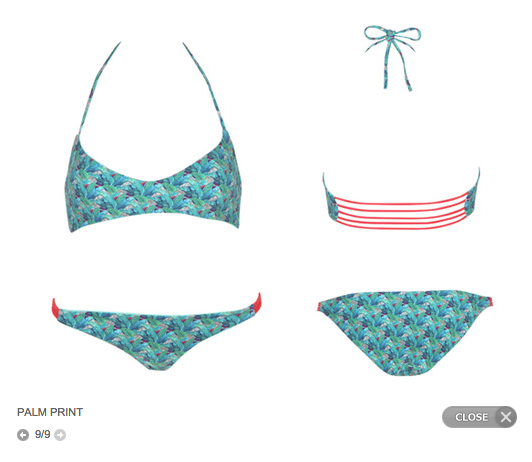
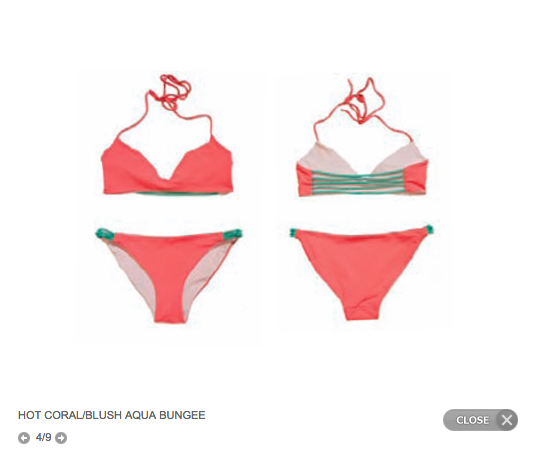
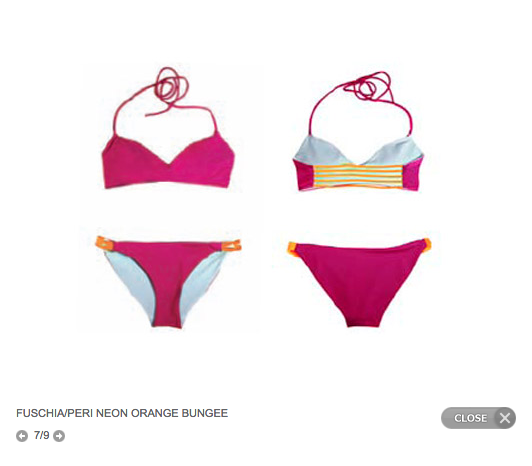
Recently, I came across a photograph of a swimsuit I liked. The still life shot looked really good and it was selling to me.

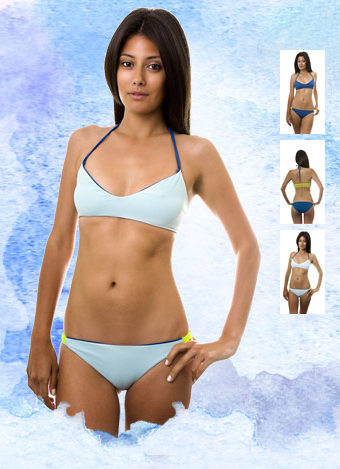
So I decided to follow the link to the website where I could buy it. Once there, I saw more shots of the swimsuit, including some that were on model and I really, really liked the swimsuit!

But, unfortunately, it was sold out. Lucky for me the company had put the designer’s name on the swimsuit so I did a quick search to see if I could buy the swimsuit directly from the designer’s website. And that, my readers, is when I did a double-take. I could not believe it was the same swimsuit. The designer had different colors but I had NO desire to buy this product in any color. It looked terrible in the still life; all the various colored swimsuits were shot differently. On model it was unflattering as well.

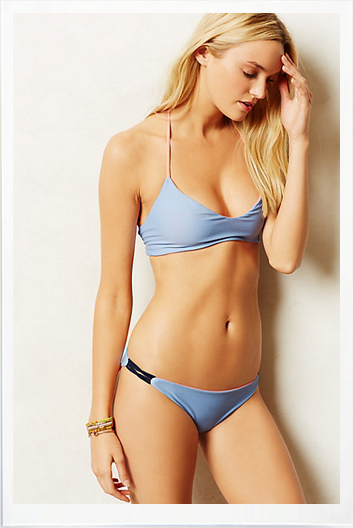
As you can imagine based on these photos, I’m not sold for a lot of reasons. Let’s look at this on model first. The suit isn’t showing me the side details at all, her pose is awkward and not relaxed which makes me wonder if that is because the swimsuit isn’t comfortable. This isn’t clear to me that the swimsuit is reversible here. I can’t figure out why I’m not seeing the back of the light blue swimsuit (it takes me a while to figure out that the dark blue is the outside of the light blue swimsuit and that is what I’m seeing).

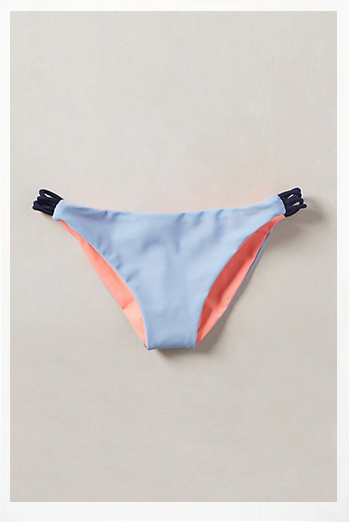
The still life images vary quite a bit. One shot makes the bottom look uncomfortably small. The straps are all different on the tops and it just looks messy. The description on the image tells us the color of one side and the bungee but not the reversible side which makes me wonder if they are all reversible , especially for those whose color is closer to skin color. Or, in the case of the palm print suit, I have no idea if it is even reversible.

I can only imagene the return on investment (ROI) for the first images was astronomically higher than the ROI of the second set of images. I’m sure the budget for the first set of images was also much higher. So to be fair, this is a “you-get-what-you-can-pay-for” situation.

Now, here’s what I would have done. If the client didn’t have the budget for great shots in all colors, I would have recommended that we shoot one swimsuit perfectly, then shoot color swatches of the details for each alternative colored swimsuit. If the budget allowed for it, I would say shoot that swimsuit on a model because the ROI will be bigger. If the budget didn’t allow for it then shoot one perfect still life and, if possible, one group shot with each swimsuit stacked showing the detail of each swimsuit displaying the bungee, the color inside and the color outside.

This would save time (and hence, money) by not having to style the whole swimsuit.

So there you have it. My two cents, from an e-commerce photographer’s perspective on what to do to optimize your e-commerce photography ROI.

Miami Portrait Photographer | Optimize your headshot!

Many of you already know me on a personal basis, but for those who don’t, my husband Sam is an internet guru. I really don’t know how else to describe him. He works in hospitality helping hotels make the most of their online presence. This week he will be speaking at a conference in Tennessee and so he came to me because he needed a new headshot. Okay, so why is this interesting? Photographer takes picture of her husband… big deal. Actually it was what he taught me that was so cool I wanted to share it with everyone. On one of the blogs he follows Cyrus Shepard created a post called “How Optimizing My Ugly Google+ Pic Increased Free Traffic”. To sum it up, by placing a color behind the subject people were statistically more likely to click on that person or their link/article. Google likes to put our bio pictures all over everything it can now, and the internet has become overrun with black and white head shots, or head shots against a black, white, or grey background. So when I photographed him we did it against, you guessed it, grey (and I included a black and white of the shot for him too, aren’t I nice!?). He shared the article with me after our photo shoot.


He took it upon himself to add orange to the background (this is what we would call an artists rendering of what he did, I can’t find the actual file anywhere now)…

Orange. Bright orange. Now, no offense to my beloved or anything here, but after some convincing he let me have a go at changing the grey background to a color for him. I went with a techie blue (he also has blue eyes so that was inspiring me).

When I saw his new headshot with this color pop up in my text messages I the post hit home. My eyes immediately rush to his shot over all the other photos next to text messages in my phone (everyone has a little photo next to their message on my phone). The effectiveness of this in a larger setting (aka, the web) was not lost on me.

Since then, I’ve shot two more portraits one for a writer, one for a jewelry designer, both asked for blue as the color behind them.

At this point, I’m feeling rather out dated with my black background behind me in my bio pictures. Guess it’s time to update myself! What do you think??? Out with the old….

In with the Warhol?

Subscribe To Our Newsletter

Join our mailing list to receive the latest news and updates from our team.

You have Successfully Subscribed!