Finding the right professional photographer through price comparison
Finding the Right Photographer: A Guide to B2B Photography Pricing
So, you’re on the hunt for a photographer? Awesome! Whether you need a photographer for product shots, lifestyle images, or something else entirely, figuring out where to start can be tricky. If you’re looking for a photographer for your business (B2B), it’s a whole different ball game than finding one for personal photos. Let’s dive into how to find the perfect photographer for your needs and what to expect when it comes to pricing.
Your First Step: Searching for a Photographer
When you start searching for a photographer, you might begin with simple terms like “photographer near me” or “professional photographer.” You’ll likely see a lot of B2C (business to consumer) photographers offering services like weddings and family portraits. While these are great, they’re not what you need for your business. This can lead to a lot of time spent sifting through irrelevant results.
Or, maybe you head to Instagram and start searching hashtags, hoping to find a content creator or influencer with the right style. While this can sometimes work, it can also be a time-consuming rabbit hole.
A Better Way to Find a Photographer
There’s a more efficient way to find the right photographer. Try these search terms:
“(Your closest city) (what type of photography you need) photographer”
For example:
- “Boston product photographer”
- “New Hampshire lifestyle photographer”
- “Portland Maine commercial photographer”
Replace “(what type of photography you need)” with terms like “product,” “lifestyle,” “advertising,” “commercial,” “ecommerce,” or “website.” If you’re not sure, just type in what you need photographed and see what comes up.
Pro Tip: Use Google Image Search! It’s a quick way to see photographer’s work without clicking through multiple websites. If you see images you like, then you know you’ve found a potential photographer to contact.
Understanding Photographer Pricing
Once you’ve found a few potential photographers, you’ll start reaching out for quotes. But here’s the thing: not all photographer quotes are created equal. You will get a range of prices and wonder why they’re so different. It’s like comparing the cost of chairs—are we talking about an IKEA chair, a Target chair, or a Restoration Hardware chair? Photographers vary just as much.
What Goes into a Photographer’s Price?
Generally, a photographer’s price includes:
- Time: How long the photoshoot will take.
- Cost: Expenses like equipment, lunch & coffee, studio/location rental, team/talent (models), props, and everything else you might see in the photo.
- Use: How you plan to use the photos.
Let’s look at these three types of photographers and how their pricing might differ
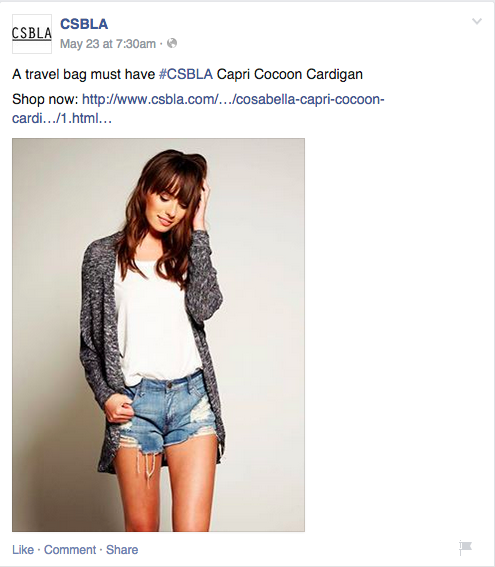
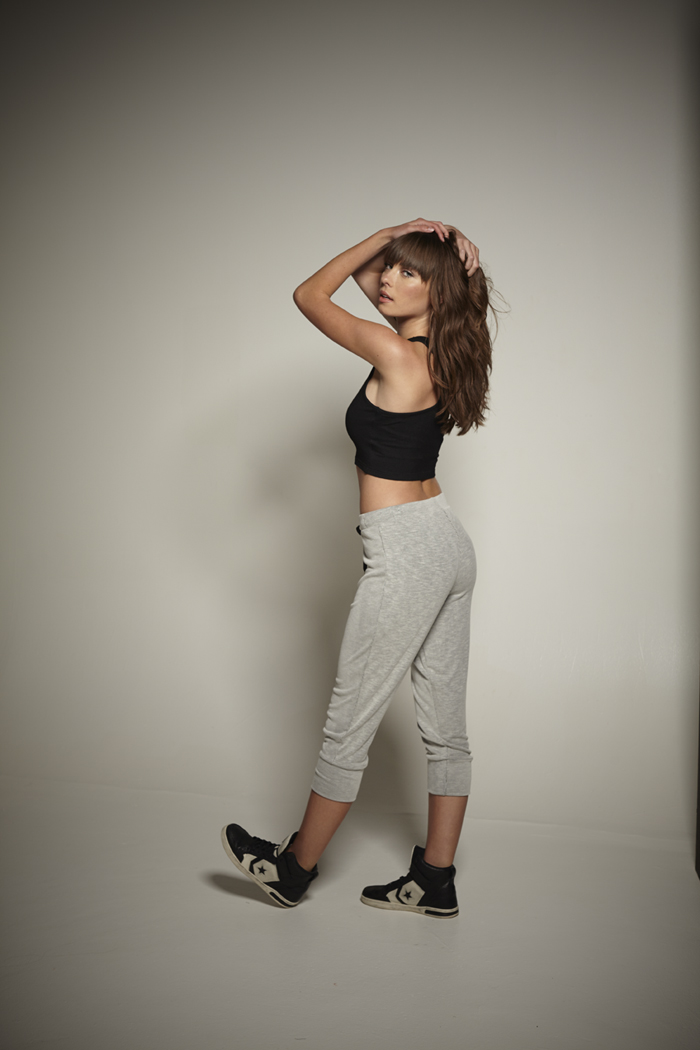
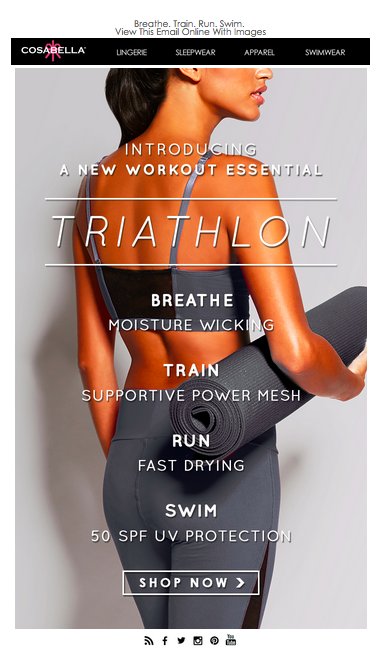
The Influencer/content creator:
They often have a price sheet based on the number of photos and reposts. Their style is what you see on their feed, so make sure it matches your brand. Ask about file sizes to ensure they’ll work for your needs (online, print, etc.). Their number of followers influences their price.

Above is a screen shot from Inbeat Agency which is a great article about the range of costs for a content creator.
The Big Box Photo Studio:
They might advertise a low price per photo, but extras like different shadows, retouching, props, creative direction, and more are extra. Those changes can add up quickly. Take a look at this price chart:

This price sheet is an example from a Big Box Photo Studio. It looks do-able if you want a single photo on a plain background, but if you need 10 photos you’re paying close to the same as you would with many Solo Professional Photographers but you have less creative control because it’s a Big Box Studio.
The Solo Professional Photographer (SPP):
They’ll likely ask a lot of questions to understand your needs. This is because they want to give you an accurate quote and ensure they’re the right fit for your project. They’re thinking about time, cost, and use to deliver exactly what you need. There’s no paying for BIG company overheads or them to post and promote your product so often this works out in your favor.
Which Photographer Should You Hire?
Each type of photographer has its place.
- Influencers/content creators can be great if their style aligns with your brand and you want a hands-off approach. Depending on their level of reach, this can be expensive.
- Big Box Photo Studios might work for simple, straightforward low number of photos, but watch out for those extra charges or when you have more than a couple images you need.
- Solo Professional Photographers often provide the best return on investment. They work closely with you, adapt during the shoot, and deliver high-quality images you can actually use.
In Conclusion
While photographer and content creators prices can vary widely at first glance, the price per usable image often evens out in the end. Consider what extra services you might be buying when hiring someone. More experienced photographers might charge higher rates but work more efficiently, while less experienced ones might take longer but charge less.
Finding the right photographer is about understanding your needs, doing your research, and choosing someone who aligns with your vision and budget. Happy hunting!