Miami Product Photographer | Raw Image Files – Better Known as “Digital Negatives”
The term “raw file” is often mistaken or misunderstood. Nowadays, with everyone taking photos on their phone and sharing them with the world, the idea of a digital photo seems relatively straightforward and easy to comprehend. But that is not really the case. If you don’t fully understand the difference between a raw file, a processed file and a retouched file, don’t worry, you are not alone! This is a common issue that I hope to clarify here.
It is essential to distinguish between these three terms (raw files, processed files, and retouched files) in order to get exactly what you need and can use from a photo shoot. Sometimes clients will ask me for the raw files from the shoot when they actually meant to ask for the processed files (they want files that have not yet been retouched, but that are in a format that they can use).
So let’s start with the basics. First of all, it is important to know what a raw file is. Believe it or not, raw is not necessarily what you think it is. Many people think that “raw”simply means that it hasn’t been re-touched or edited using Photoshop or a similar program. This is not the case. To clarify, a raw file means “camera raw.” But what does this mean exactly?
Consider this: years ago when you wanted to shoot photos, you had a roll of Kodak film, for example. You placed the roll of film in your camera and began shooting. After you shot all 24 or 36 photos on the roll, you would typically take the roll of film to a photo center to have it processed. The roll itself was no good to you until it was processed. What you got back from the photo center was the developed film (as negatives or slides) and prints (if you opted to print them). In terms of the digital world of photography, think of the raw files as the undeveloped roll of film that has been shot, the processed files as the developed film and the retouched files as the prints that you would get.
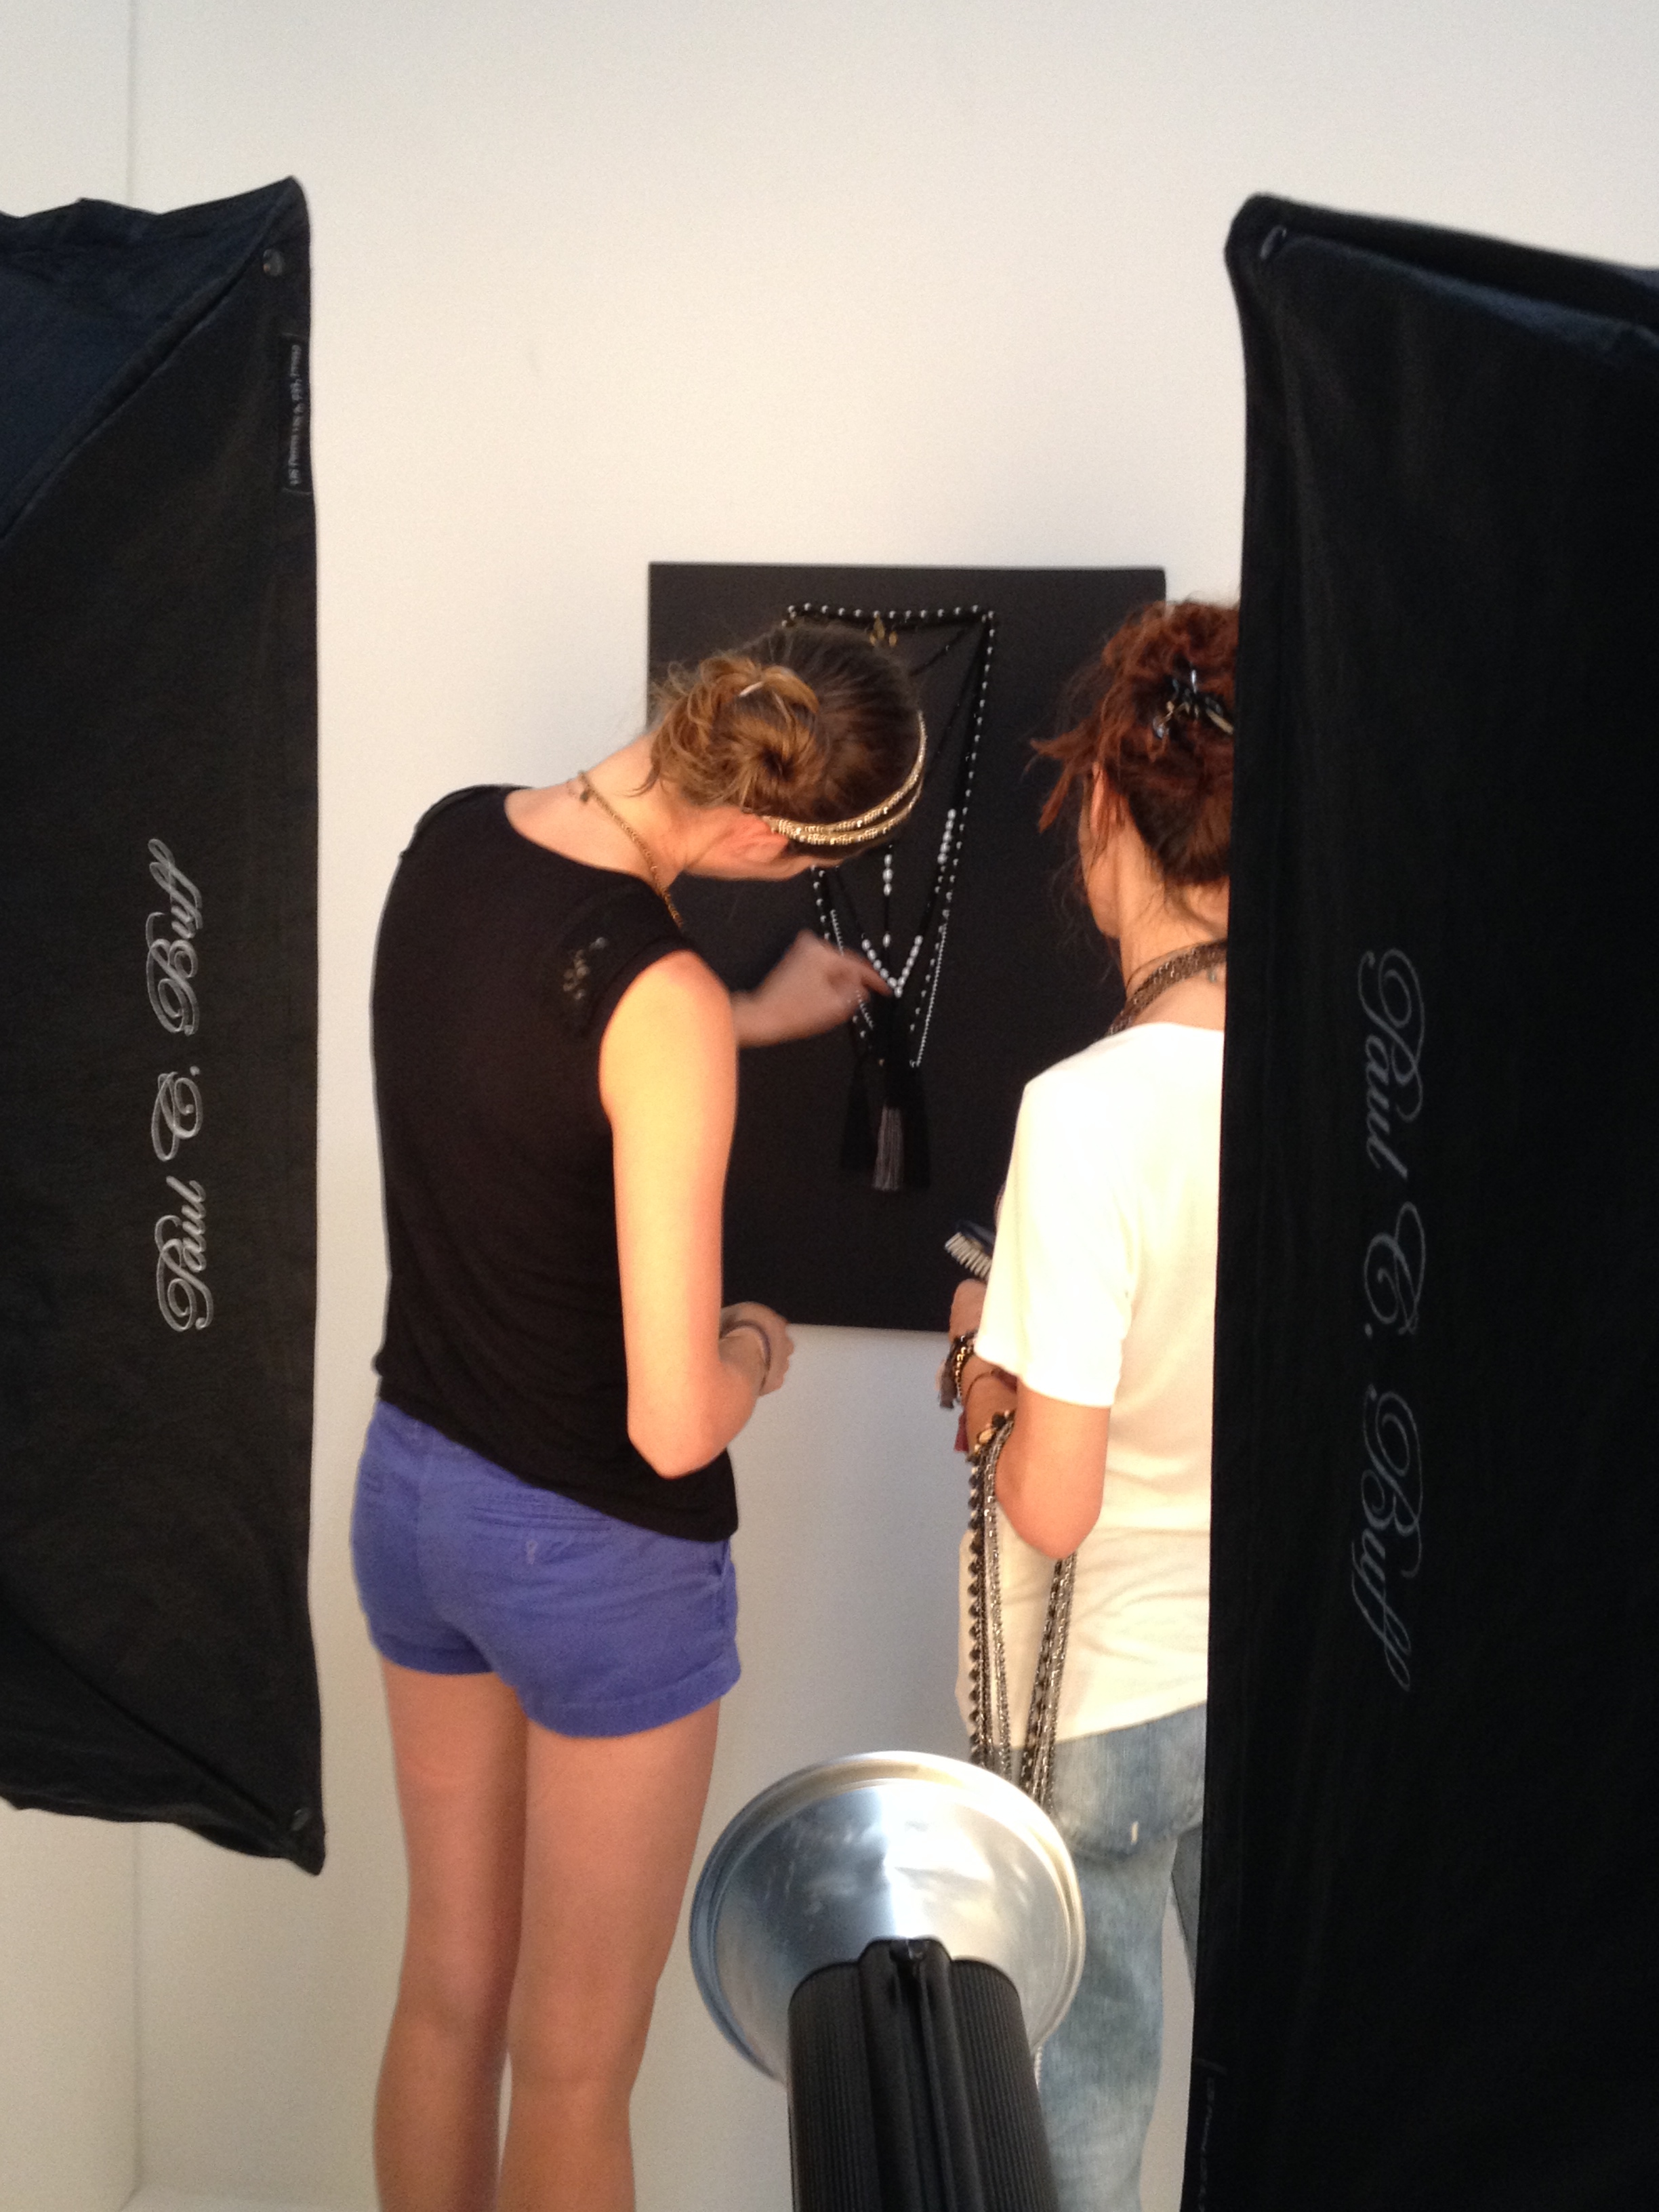
Part of the reason we shoot tethered (with the camera attached to the computer by a cable in order to send the files directly to the computer) is so that we can show the client a preview of a processed file that doesn’t actually exist in reality yet. It hasn’t been processed at this point, but it can be viewed as if it were. Shooting tethered is a great way to give the client a general idea of what the photo is going to look like when it is processed. If I were shooting to a CD or memory card, you would not be seeing the hypothetical version of the image. You would be seeing the raw version which is hard to understand unless you know how to read them.
So, after the raw images are shot, they need to be processed. Clients hire me because they like my work and part of that work is file processing. It is the part of post-production that occurs after the shoot, where I make sure that when I give you the files, they look exactly like they are supposed to. In the past, when using film, photographers would shoot photos with the idea in mind of how we were going to process it. Pushing or pulling the film during the development process was a way to adjust what we shot in order to create the best image possible. Now, with digital images, this is done in the “digital darkroom” or in the processing phase of post-production. Some of the things that can be done during processing are (from: http://en.wikipedia.org/wiki/Raw_image_format):
- decoding – image data of raw files are typically encoded for compression purpose, but also often for
obfuscation purpose - defective pixel removal – replacing data in known bad locations with interpolations from nearby locations
- white balancing – accounting for color temperature of the light that was used to take the photograph
- demosaicing – interpolating the partial raw data received from the color-filtered image sensor into a matrix of colored pixels.
- noise reduction – trading off detail for smoothness by removing small fluctuations
- color translation – converting from the camera native color space defined by the spectral sensitivities of the image sensor to an output color space (typically sRGB for JPEG)
- tone reproduction – the scene luminance captured by the camera sensors and stored in the raw file needs to be rendered for pleasing effect and correct viewing on low-dynamic-range monitors or prints
- compression – for example JPEG compression
- removal of systematic noise – bias frame subtraction and flat-field correction
- dark frame subtraction
- optical correction – lens distortion correction, vignetting correction, and color fringing correction
- contrast enhancement
- increasing visual acuity by unsharp masking
- dynamic range compression – lighten shadow regions without blowing out highlight regions
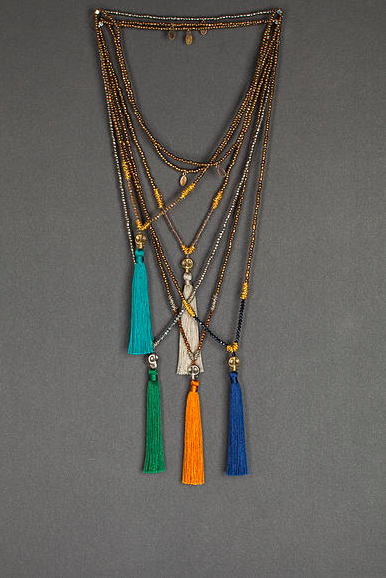
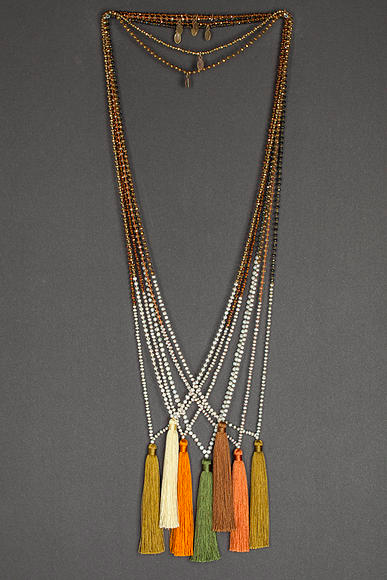
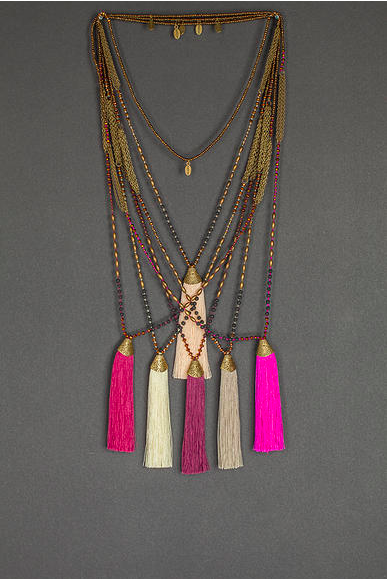
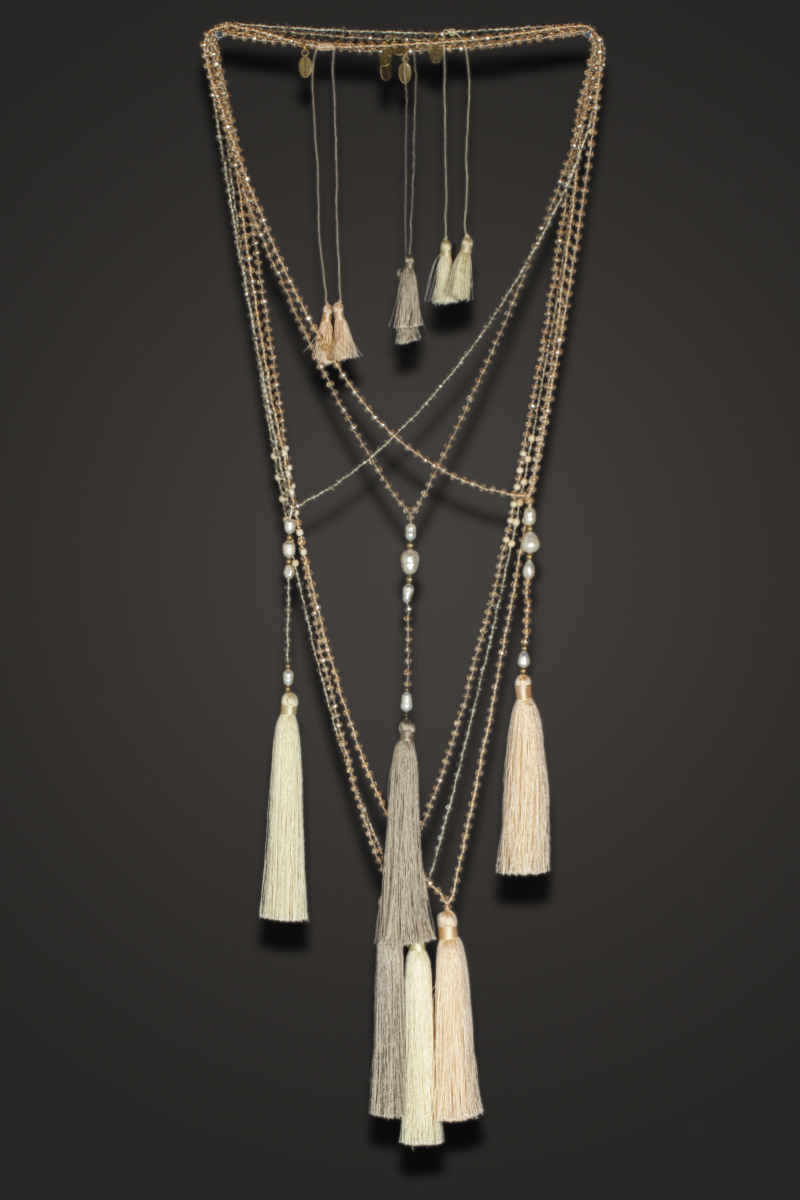
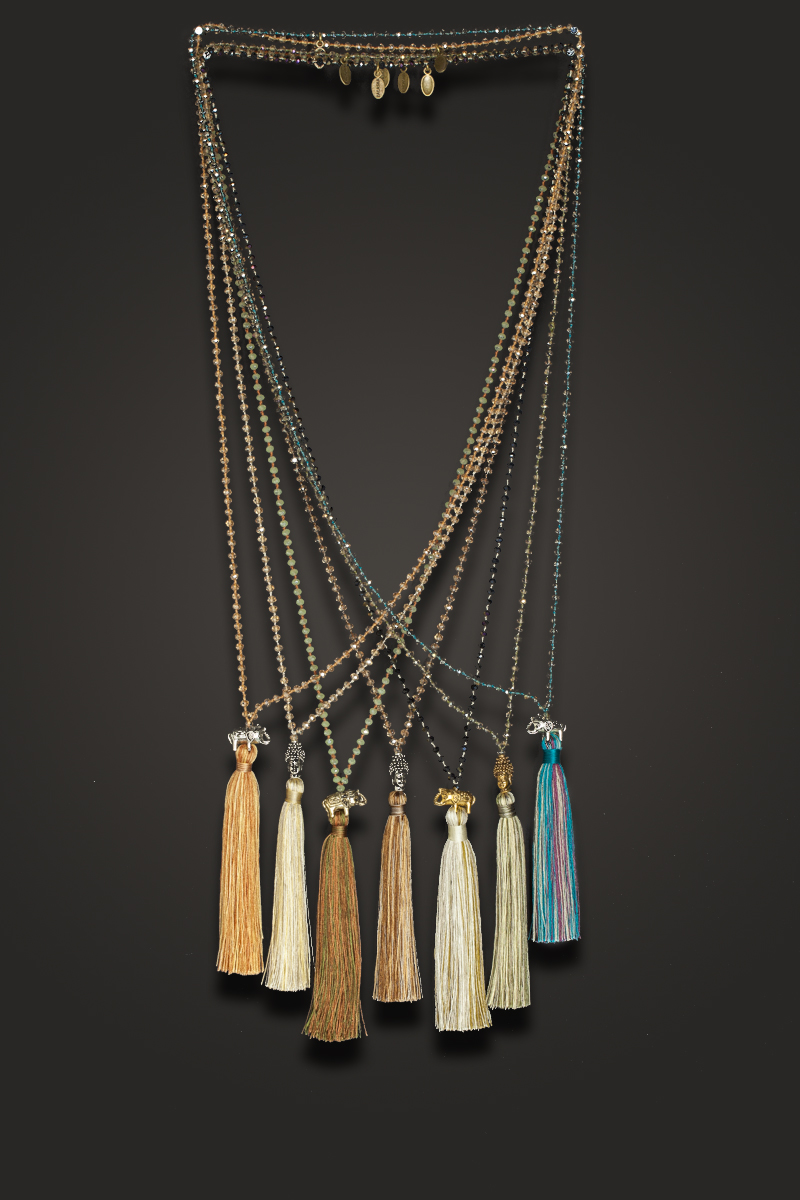
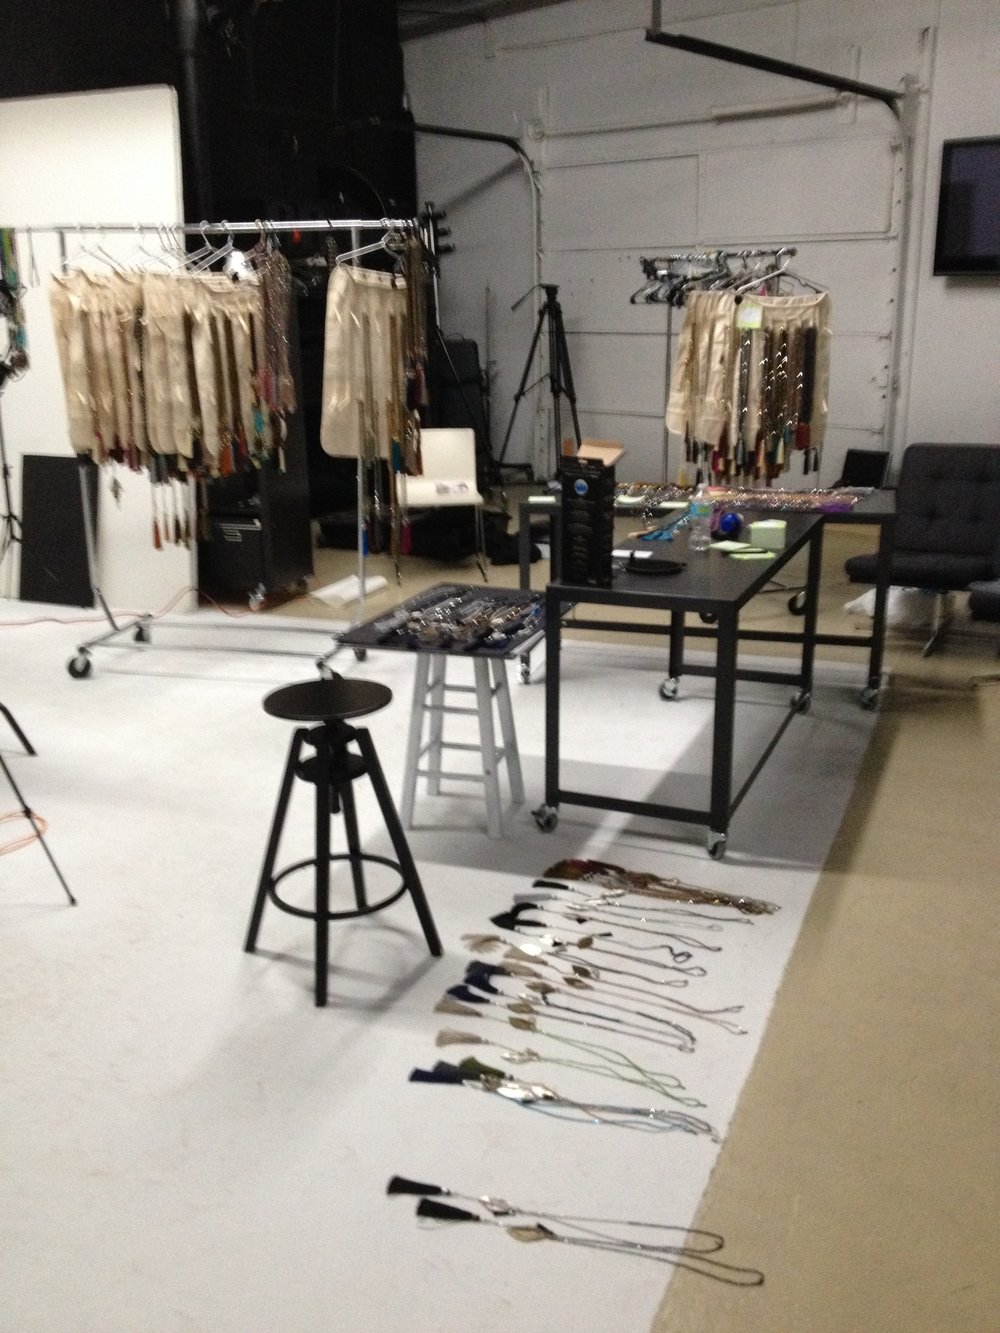
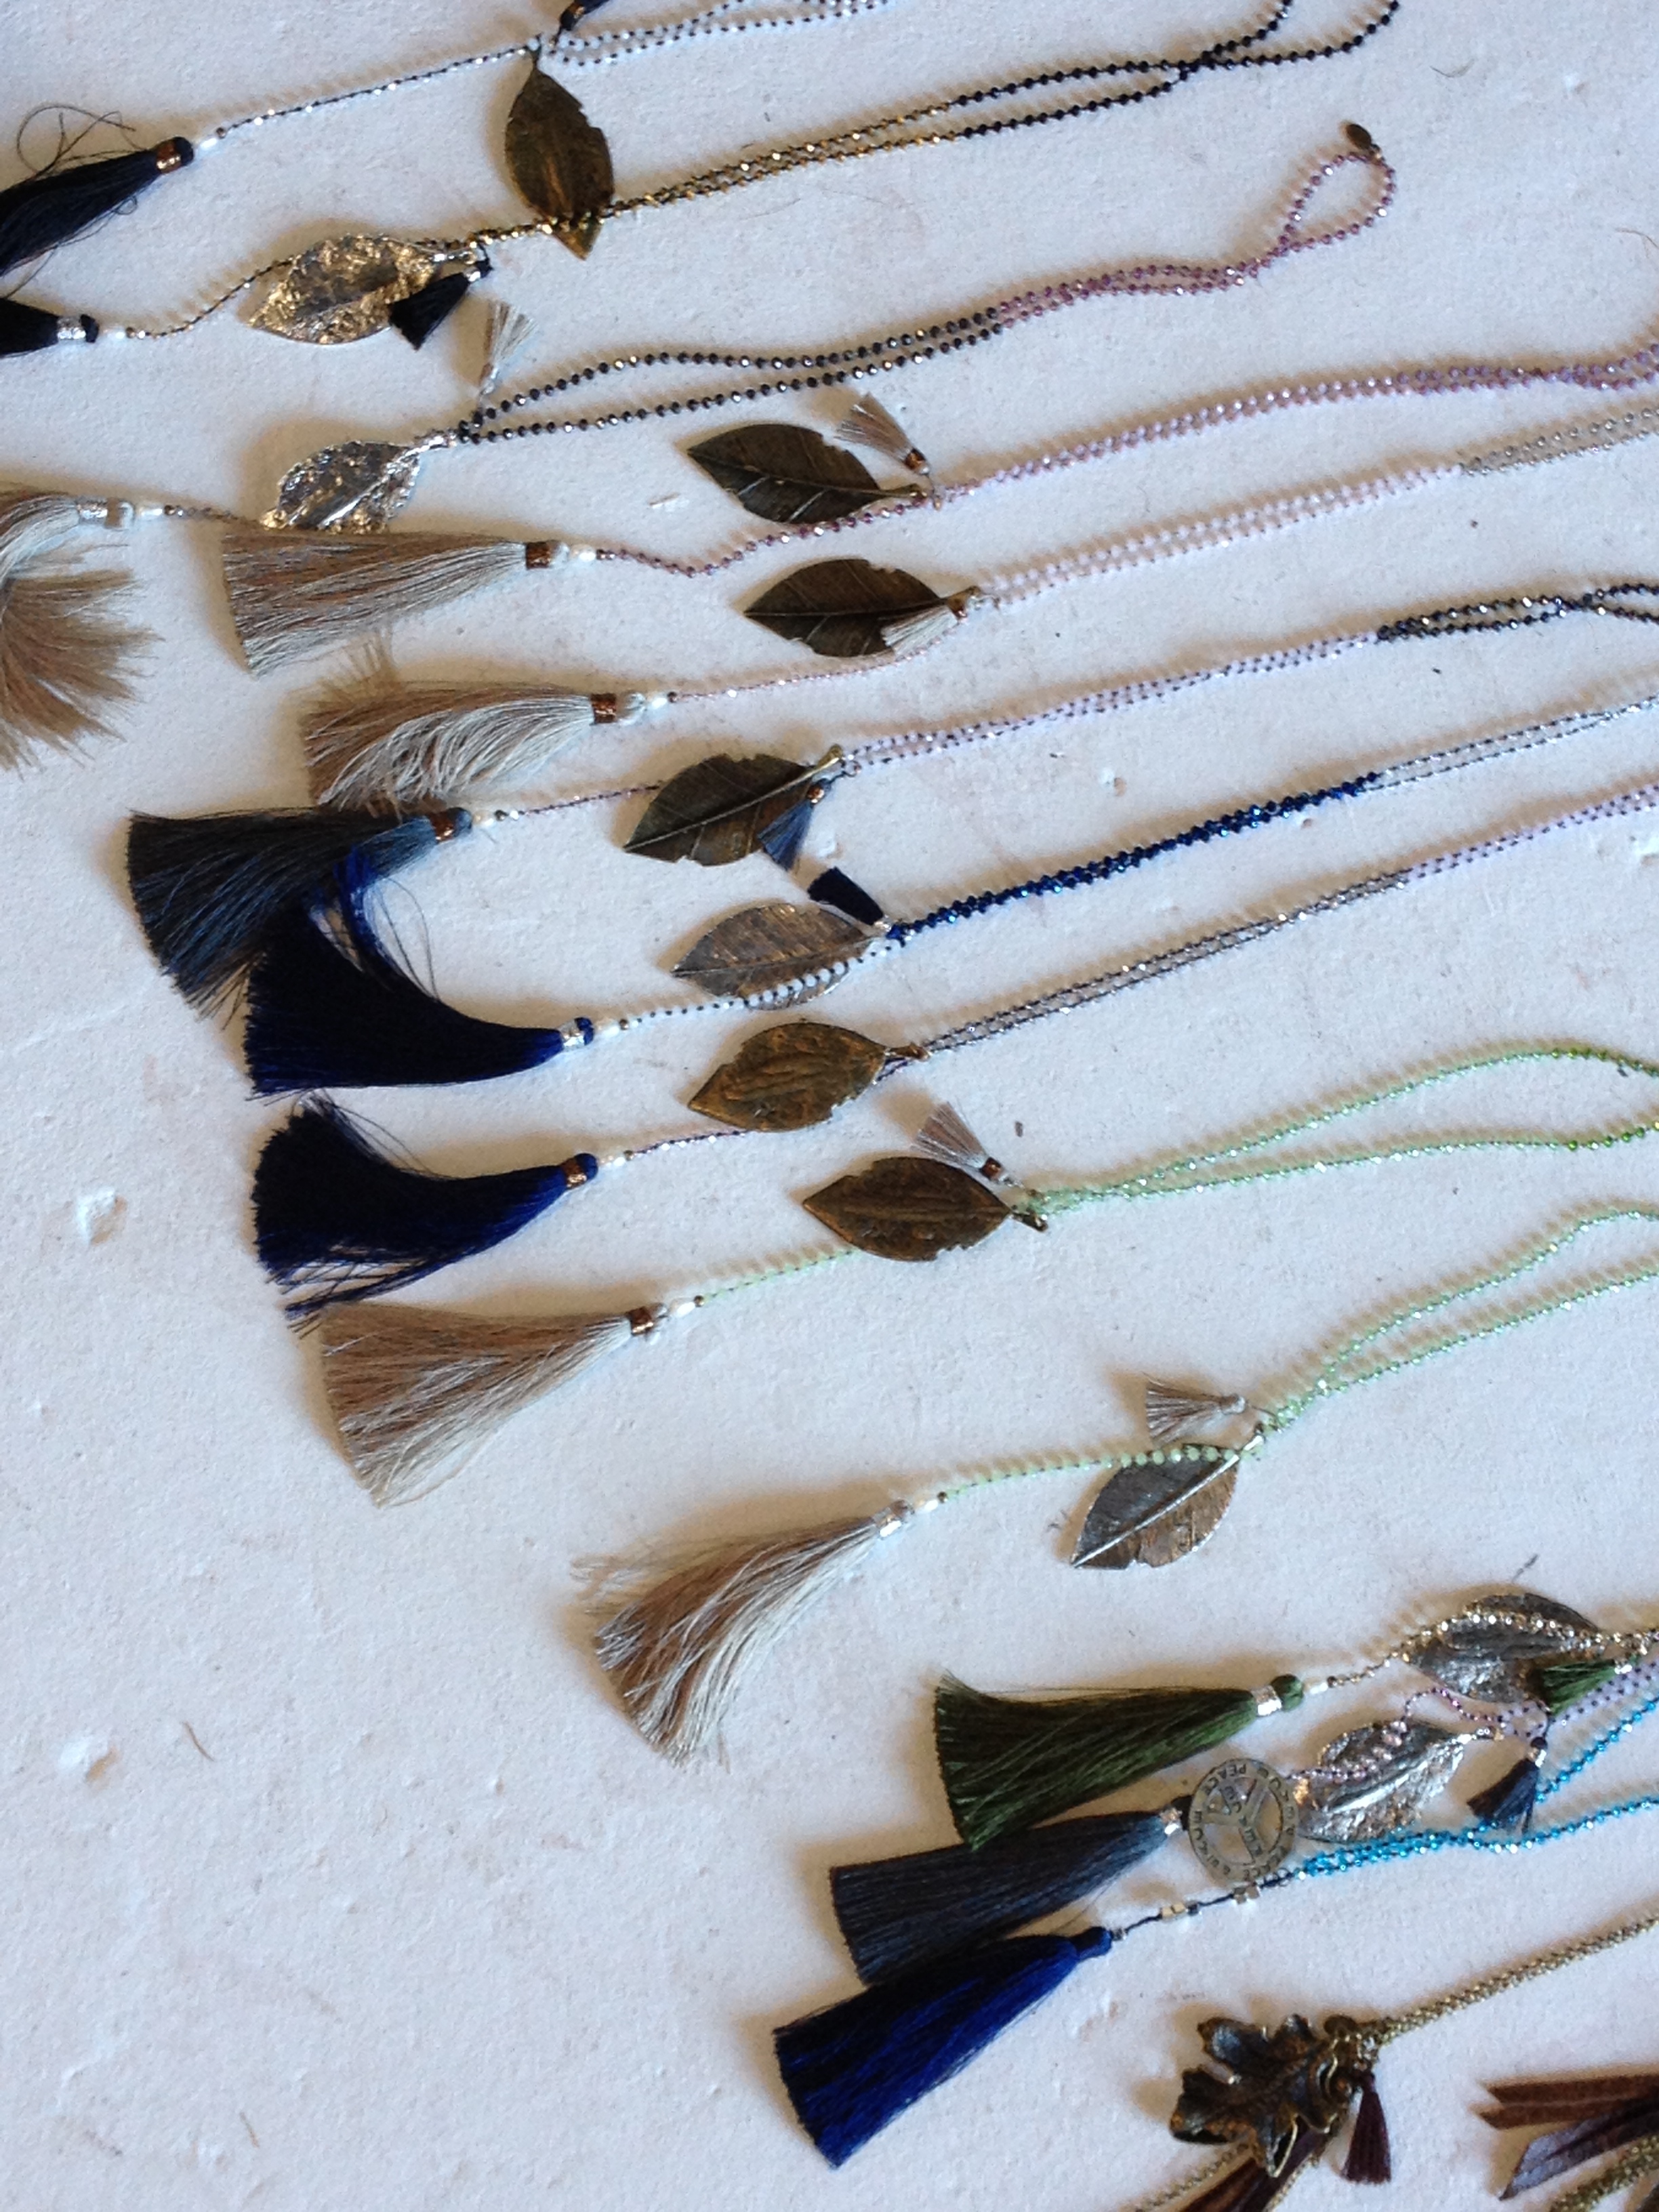
And after the images are processed, they are typically retouched. Retouching is a digital way to make your photo look even better. Sometimes, in order to produce the best shot, you have to shoot multiple images and put these images together into one photo. This would occur in the retouching phase of the post production work. Jewelry photography is an excellent example of this.
So, as you can see, just as in the days of “old school” film, digital photography involves multiple steps that all lead up to the final, usable image. And hopefully this clears up the difference between a raw file, a processed file and a retouched file.
If you are still a little confused, here is another photographer’s explanation
Click here for more info on Miami Product Photographer Kate Benson